This post at a glance:
- Pros and cons of hosted vs. self-hosted LLMs.
- Bill of materials for a PC with cost-effective Nvidia GPUs
- Configuration for OpenFaaS Edge with Ollama
- Sample function and test data for categorizing cold outreach emails
- Past posts on AI and LLMs from OpenFaaS and sister companies
Why Self-Hosted LLMs?
Self-hosted models are great for experimentation and exploring what is possible, without having to worry about how much your API calls are costing you ($$$). Practically speaking, they are the only option if you are dealing with Confidential Information covered by an NDA.
The definition of Confidential Information varies by NDA, but it usually includes any information that is not publicly available, and that you would not want to be made public. This could include customer data, employee names, organisational charts, source-code, designs and schematics, trade secrets, or any other sensitive information.
Even if the data you want to process via an LLM is not protected under an NDA, if you work for a regulated company or a Fortune 500 enterprise, it’s likely that you will be required to use models hosted on-premises or in a private cloud.

Pictured: A computer eating private data in a datacenter, generated by Grok.
There are pros and cons to both self-hosted, and hosted LLMs for inference.
Pros for hosted models:
- Require no capital expenditure (CapEx) on GPUs, or dedicated hardware
- Can be invoked via API and paid for based upon tokens in/out
- You can use the largest models available, which would cost tends of thousands of dollars to run locally
- You get to access the best in class proprietary models, such as GPT-4, Claude, and Gemini
Downsides for hosted models:
- Costs can be unpredictable, and can spiral out of control
- You have no control over the model, and it can be changed or removed at any time
- You have no control over the data, and it can be used to train the model - opting out may require an enterprise agreement
- When used with customer data, it will almost certainly breach any NDA you have with your enterprise customers
Pros for self-hosted models:
- Tools such as Ollama, llama.cpp, LLM Studio and vLLM make it trivial to run LLMs locally
- A modest investment in 1 or 2 Nvidia GPUs such as 3060 or 3090 can give you access to a wide range of models
- Running on your own hardware means there are no API costs - all you can eat
- You have full control over the model, and can choose to use open source models, or your own fine-tuned models
- You have full control over the data, and can choose to keep it on-premises or in a private cloud
Cons for self-hosted models:
- The GPUs will need a dedicated machine or server to be set up and managed
- The GPUs may become obsolete as the pace of innovation in LLMs accelerates requiring many more GB of VRAM to run the latest models
- The results of self-hosted models are nowhere as good as the hosted models - which may also make tool calls to search the Internet and improve their results
- Tool calling is usually not available on smaller models, or works poorly
Build of materials for a PC
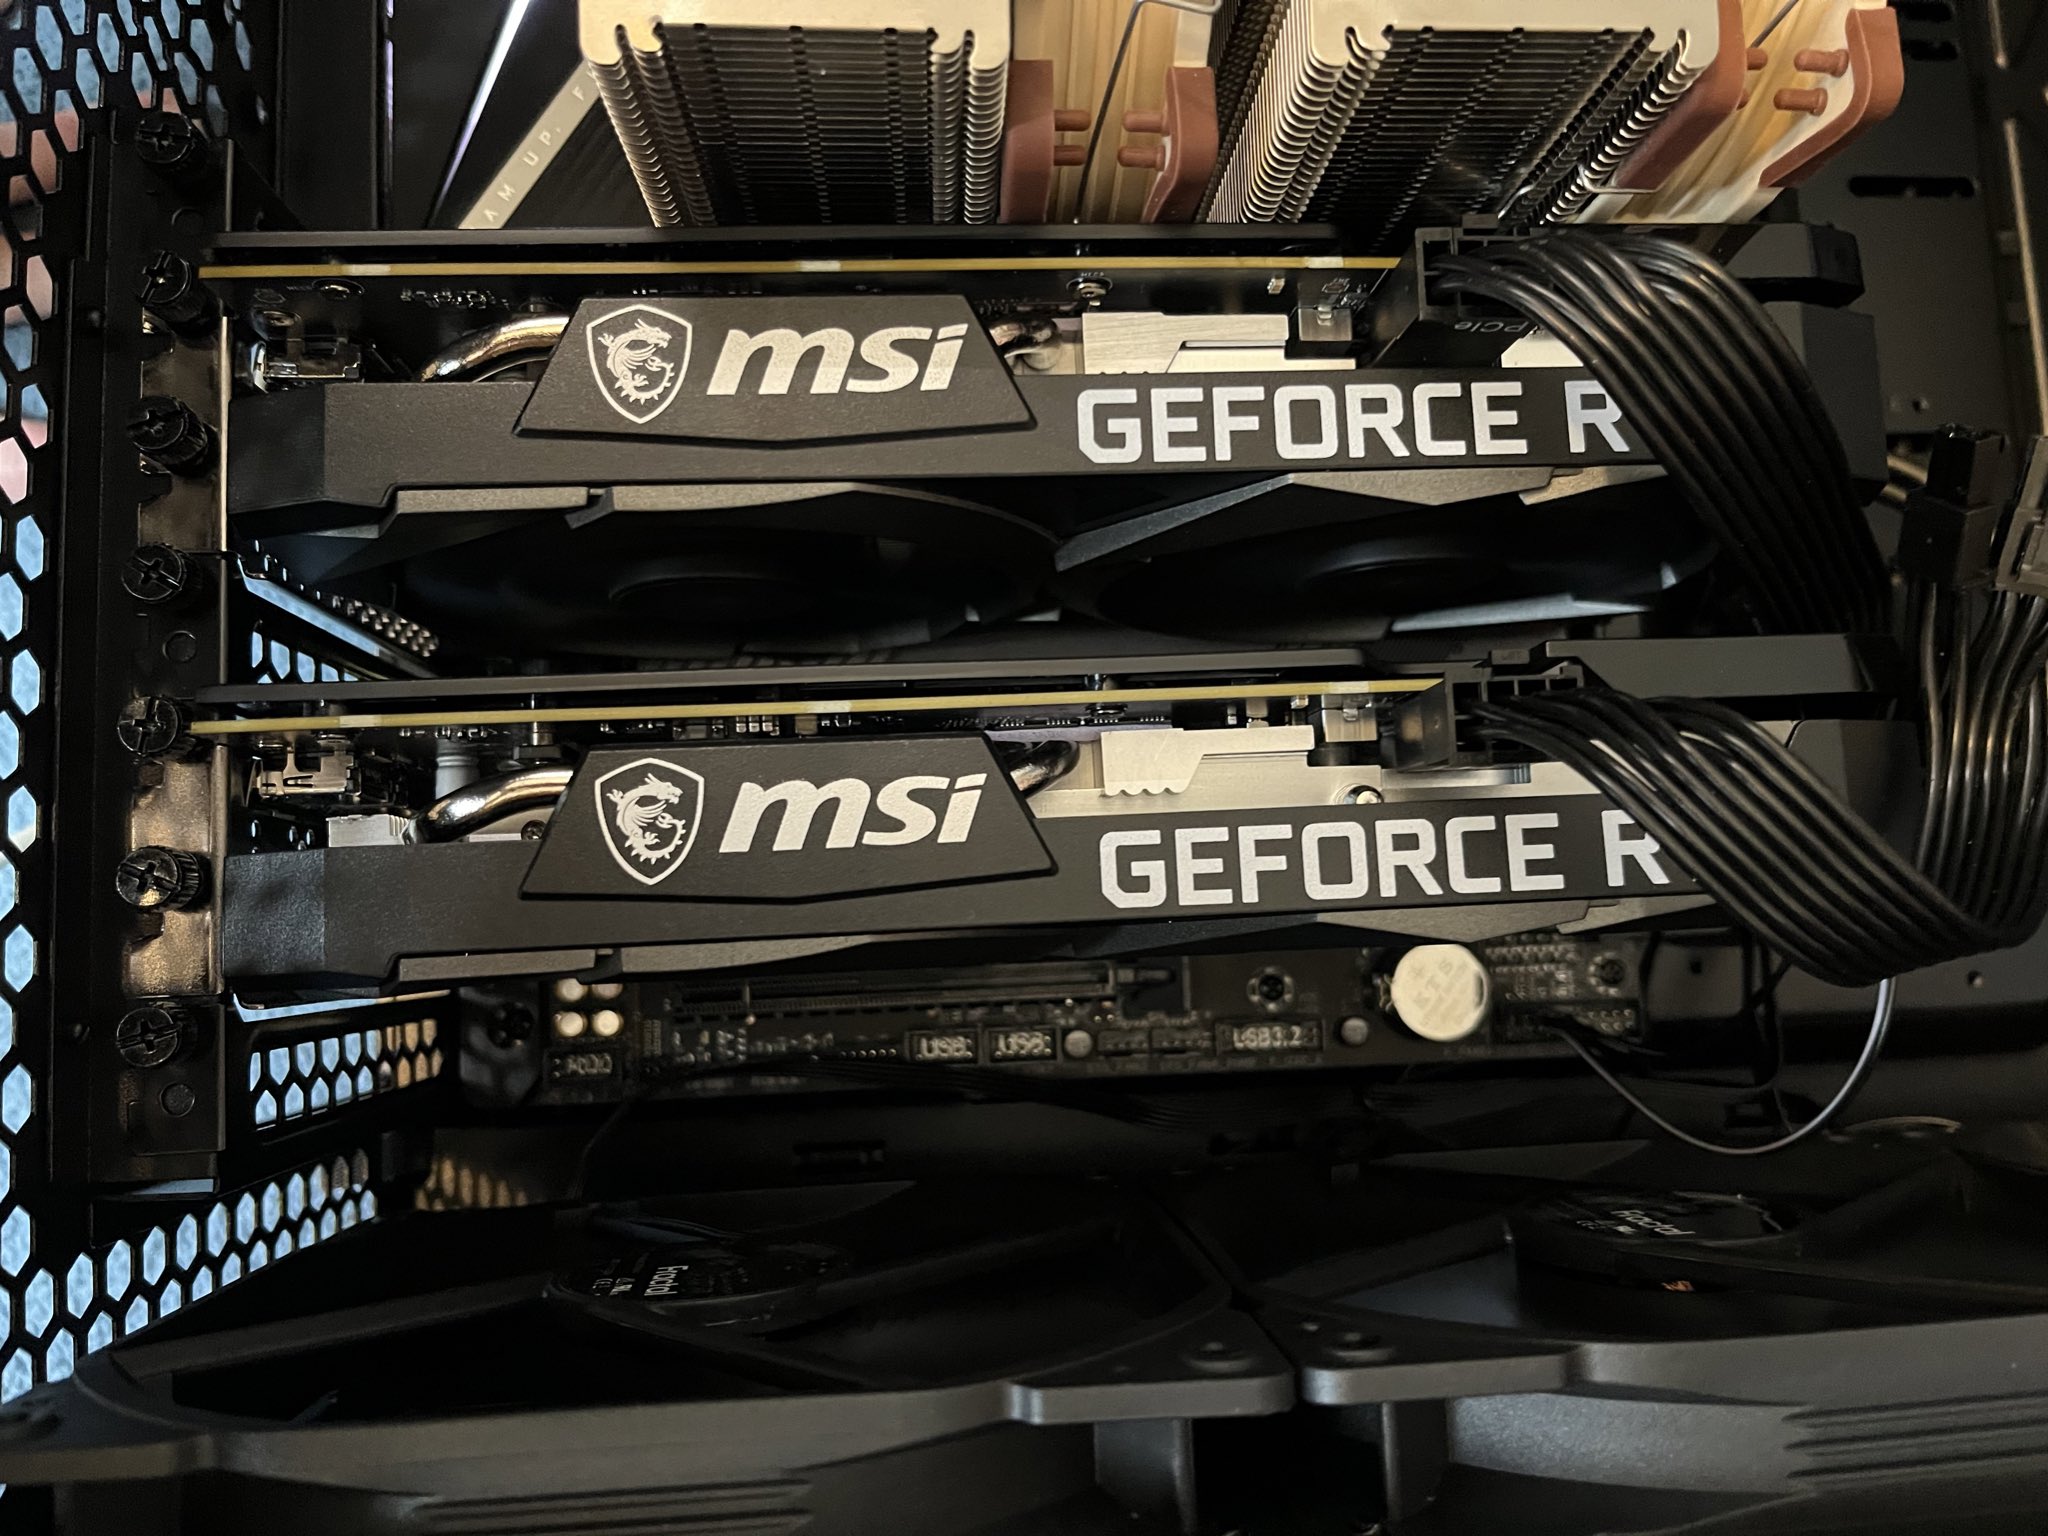
For our sister brand actuated.com, we built a custom PC to show how to leverage GPUs and LLMs during CI/CD with GitHub Actions and GitLab CI.
The build uses an AMD Ryzen 9 5950X 16-Core CPU with 2x 3060 GPUs, 128GB of RAM, 1TB of NVMe storage, and a 1000W power supply.
It made practical sense for us to build a PC with consumer components, however you could just as easily build an affordable server using components from Supermicro, or even run a used PowerEdge server acquired from a reseller. Ampere’s range of Arm servers and workstations report good performance whilst running inference workloads purely on CPU.
Around 9 months later, we swapped the 2x 3060 GPUs for 2x 3090s taking the VRAM from 24GB total to 48GB total when both GPUs are allocated.
For this post, we allocated one of the two 3090 cards to a microVM, then we installed OpenFaaS Edge.
At the time of writing, a brand-new Nvidia 3060 card with 12GB of VRAM is currently available for around 250 GBP as a one-off cost from Amazon.co.uk. If you use it heavily, will pay for itself in a short period of time compared to the cost of API credits.
How to get started with OpenFaaS Edge
OpenFaaS Edge is a commercial distribution of faasd, which runs on a VM or bare-metal devices. It’s easy to setup and operate because it doesn’t include clustering or high-availability. Instead it’s designed for automation tasks, ETL, and edge workloads, which are often run on a single device.
Whilst there are various options for running a model locally, we chose Ollama because it comes with its own container image, and exposes a REST API which is easy to call from an OpenFaaS Function.
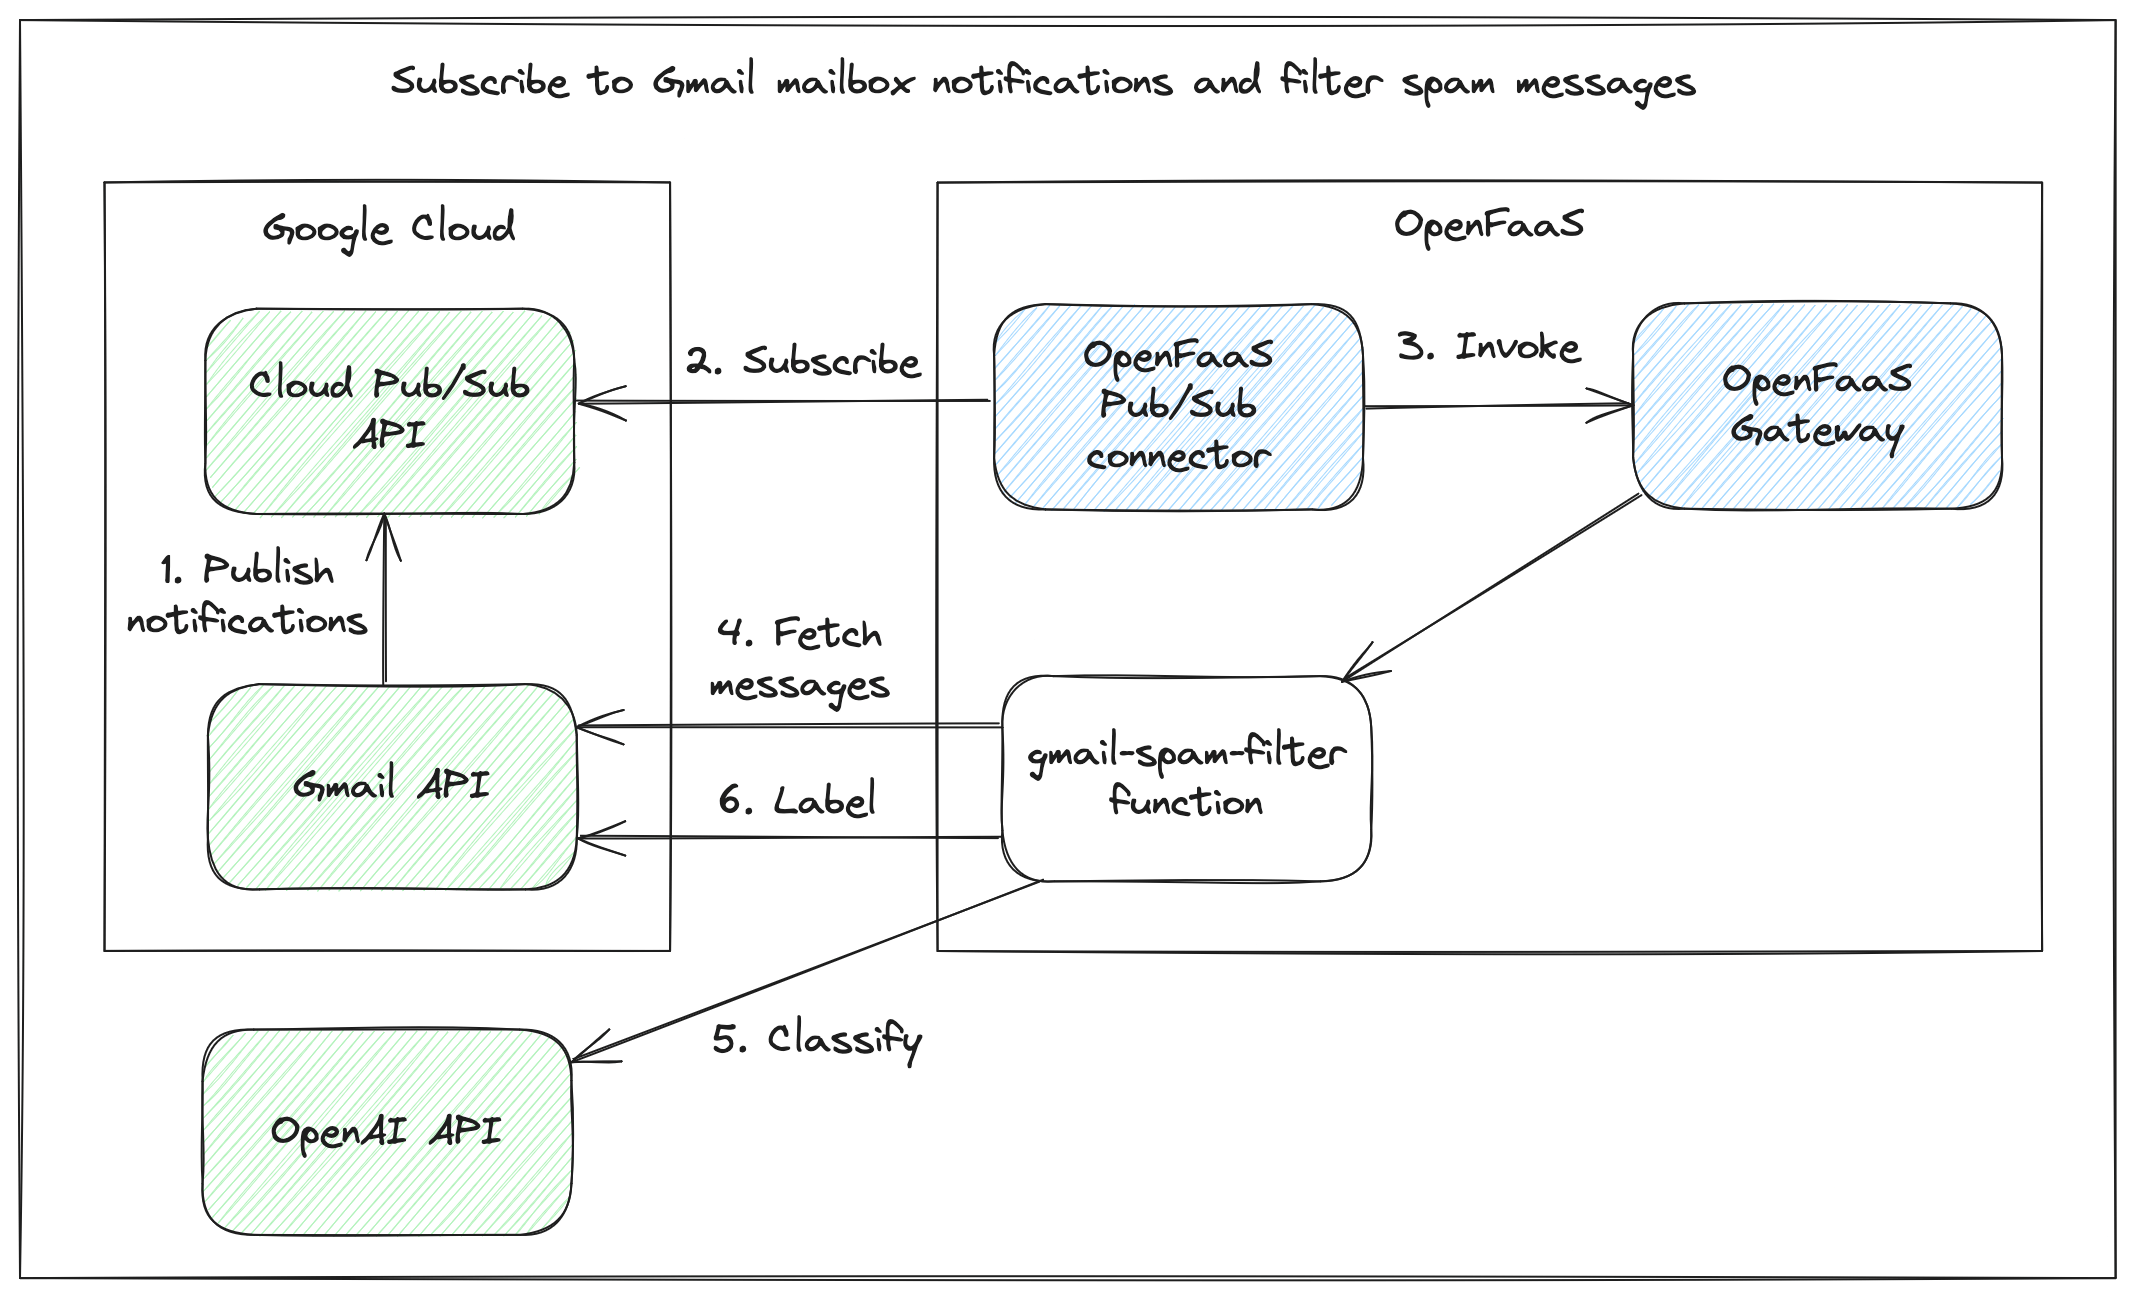
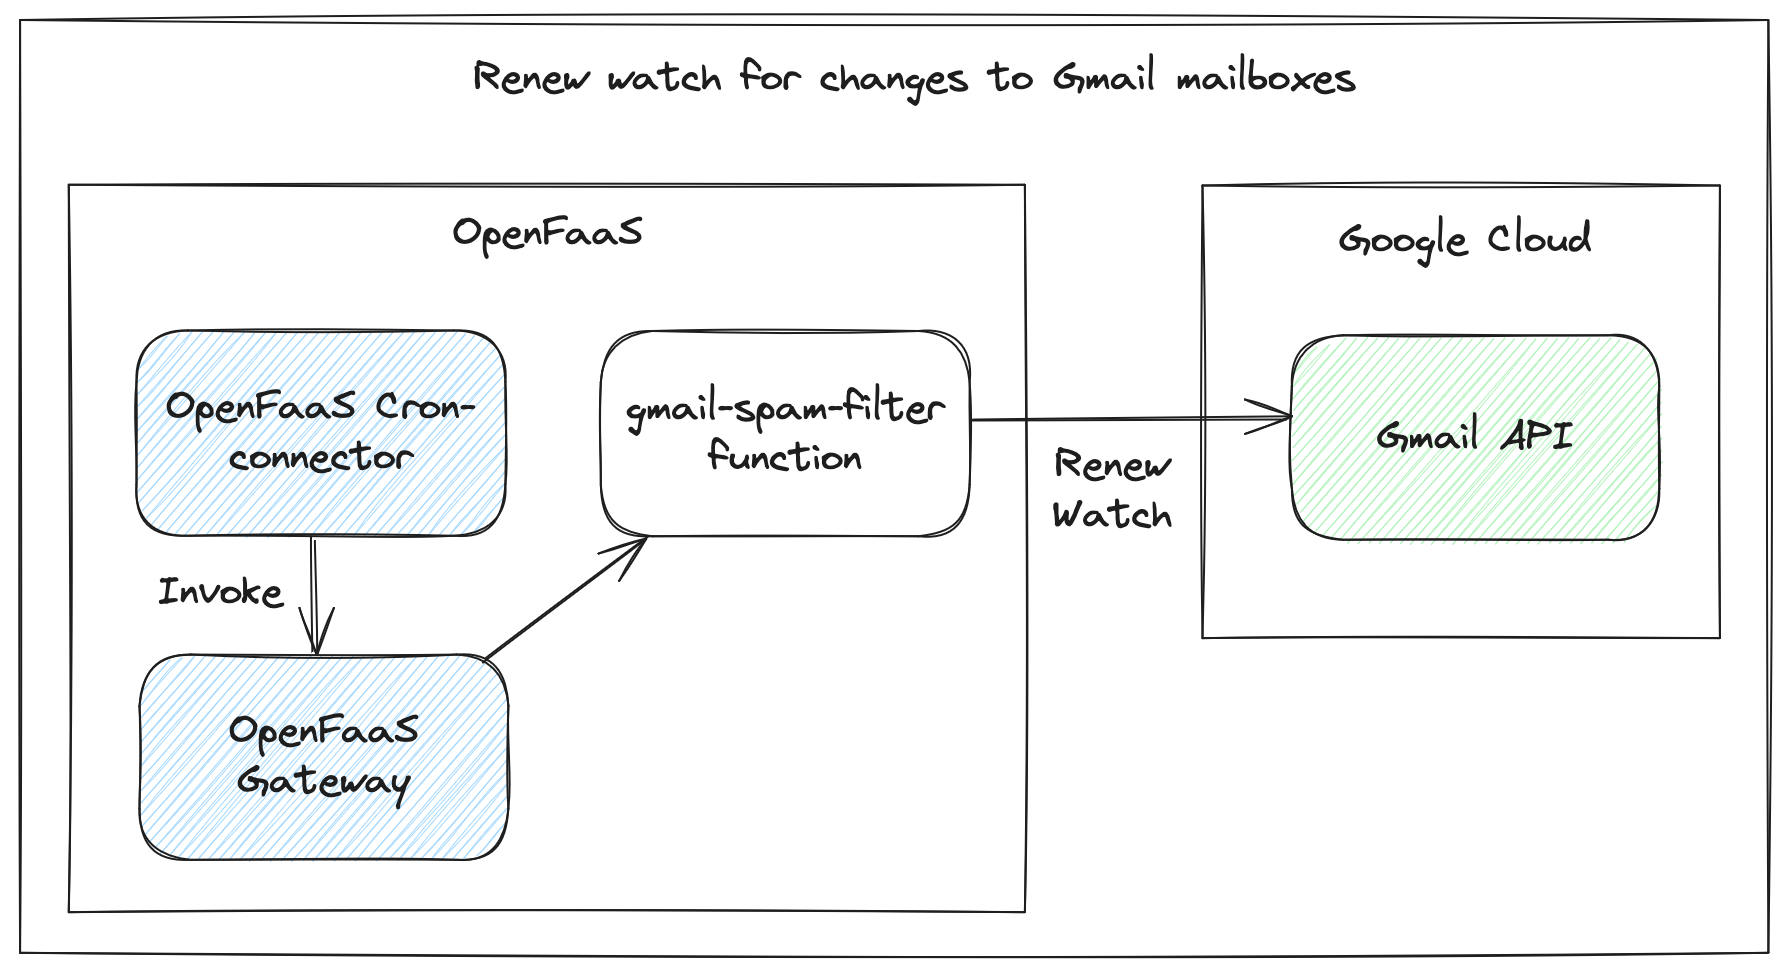
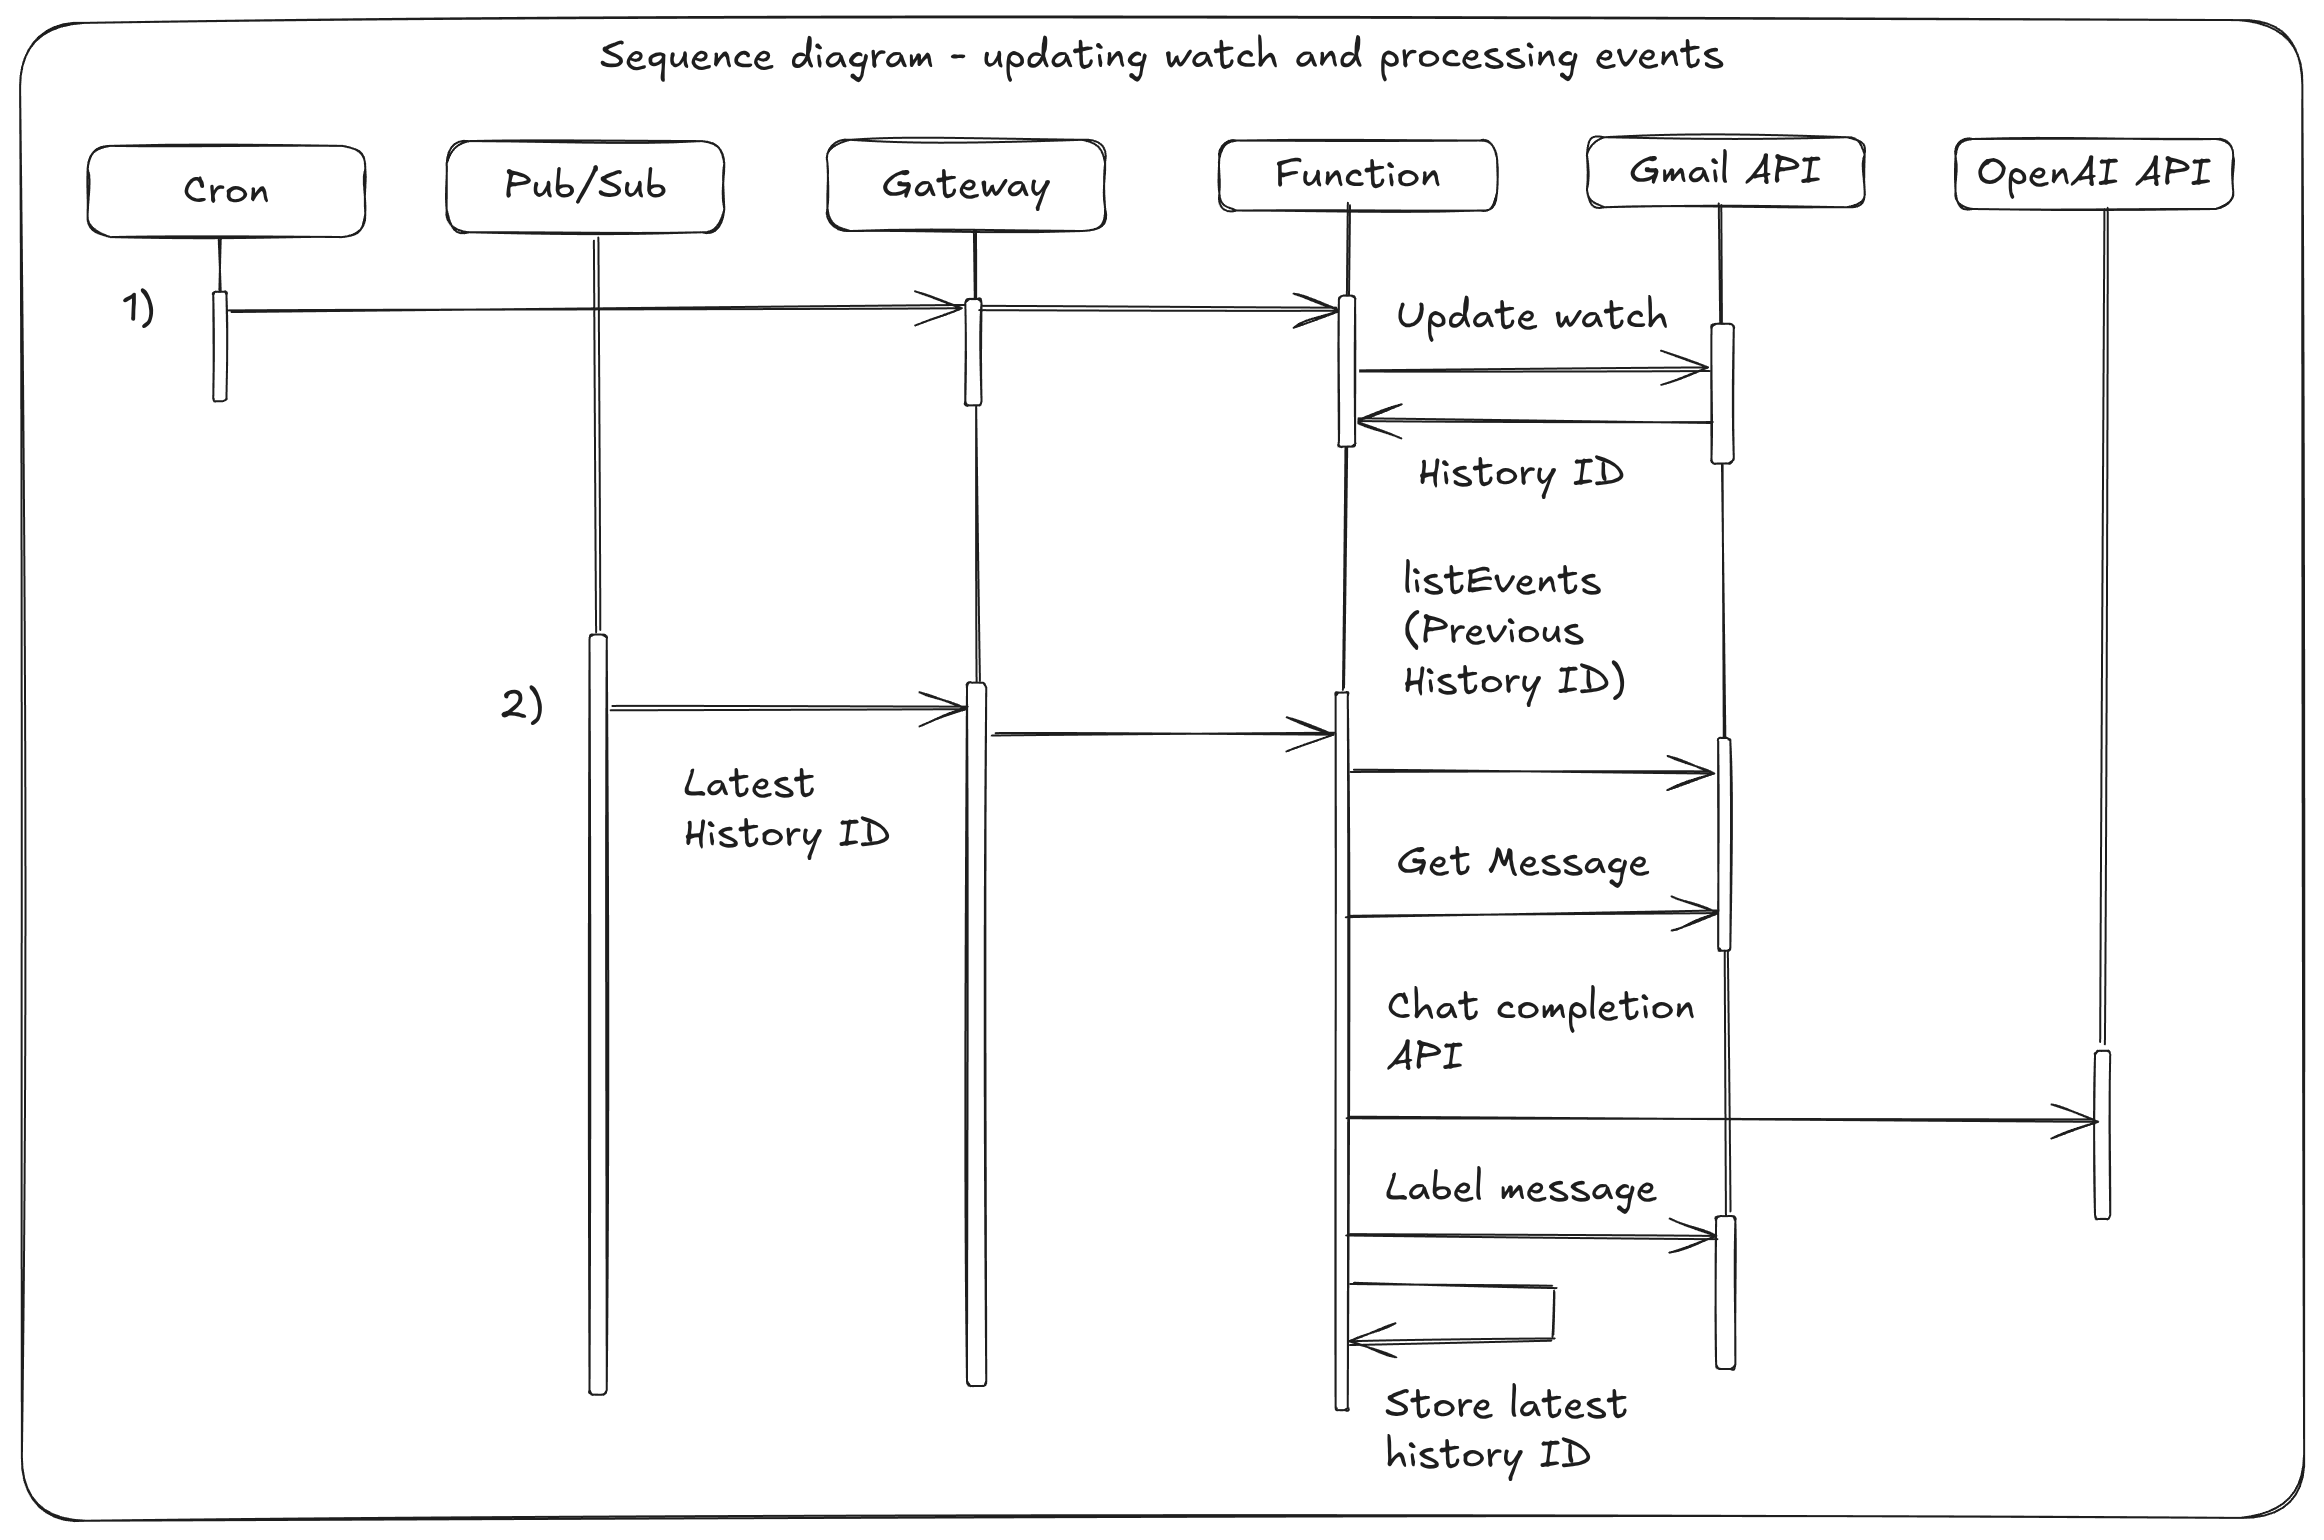
In our last post Eradicate Cold Emails From Gmail for Good With OpenAI and OpenFaaS, we showed a workflow for Gmail / Google Workspace users to filter out unwanted emails using OpenAI’s GPT-3.5 model. The content in the article could be used with OpenFaaS on Kubernetes, or OpenFaaS Edge.
We’ll focus on the same use-case, and I’ll show you a simplified function which receives an input and makes a call to the local model. It’ll then be up to the reader to retrofit it into the existing solution, if that’s what they wish to do. If you use another email provider, if they have an API, then you can adapt the code for i.e. Hotmail etc.
Install OpenFaaS Edge
Use the official instructions to install OpenFaaS Edge on your VM or bare-metal device, you can use any Linux distribution, but we recommend Ubuntu Server LTS.
Activate your license using your license key or GitHub Sponsorship.
Install the Nvidia Container Toolkit
Follow the instructions for your platform to install the Nvidia Container Toolkit. This will allow you to run GPU workloads in Docker containers.
Installing the Nvidia Container Toolkit
You should be able to run nvidia-smi and see your GPUs detected.
Add Ollama to OpenFaaS Edge
Ollama is a stateful service which requires a large amount of storage for models. We can add it to the docker-compose.yaml file so that OpenFaaS Edge will start it up and manage it.
Edit: /var/lib/faasd/docker-compose.yaml:
services:
  ollama:
    image: docker.io/ollama/ollama:latest
    command:
      - "ollama"
      - "serve"
    volumes:
      - type: bind
        source: ./ollama
        target: /root/.ollama
    ports:
      - "127.0.0.1:11434:11434"
    gpus: all
    deploy:
      restart: always
Restart faasd:
sudo systemctl daemon-reload
sudo systemctl restart faasd
You can perform a pre-pull of a model using the following, run directly on the host:
curl -X POST http://127.0.0.1:11434/api/pull -d '{"name": "gemma3:4b"}'
The gemma3 model is known to work well on a single GPU. We’ve used the 4b version, but you can go smaller or larger if you like. Some experimentation may be required to find a model and parameter size that matches your specific needs.
If you wish to make this manual step a bit more automated, you can use an “init container” which runs after ollama has started.
ollama-init:
  image: docker.io/alpine/curl:latest
  command:
    - "curl"
    - "-s"
    - "-X"
    - "POST"
    - "http://ollama:11434/api/pull"
    - "-d"
    - '{"name":"gemma3:4b"}'
  depends_on:
    - ollama
Create a function to call the model
You can use the documentation to learn how to create a new function using a template such as Python.
We used Python in the previous post, but you can use any language that you like - with an existing template, or with one that you write for yourself.
Update requirements.txt with the requests HTTP client:
+requests
Then create a function handler which will call the model. The model is called llama2 in this example, but you can use any model that you have installed.
Here’s an example handler:
import requests
import json

def handle(event, context):
    url = "http://ollama:11434/api/generate"
    payload = {
        "model": "gemma3:4b",
        "stream": False,
        "prompt": str(event.body)
    }
    headers = {
        "Content-Type": "application/json"
    }

    response = requests.post(url, data=json.dumps(payload), headers=headers)

    # Parse the JSON response
    response_json = response.json()

    return {
        "statusCode": 200,
        "body": response_json["response"]
    }
As you can see, we can access Ollama via service discovery using its name as defined in docker-compose.yaml.
The example is simple, it just takes the body, forms a request payload and returns the result from the Ollama REST API.
However you could take this in any direction you wish:
- Include the API call in a workflow, or a chain of functions to decide the next action
- Trigger an API call to your email provider to mark the message as spam, or important
- Save the result to a database or into S3, to filter out future messages from the same sender
- Send a message with a confirmation button to Slack message or Discord for final human approval
Email is just one use-case, now that we have a working private function and private self-hosted LLM, we can send it any kind of data.
An emerging use-case is to take podcast episodes, transcribe them, and then to provide deep searching and chat capabilities across episodes and topics.
Deploy and invoke the function
You can now deploy and invoke the function:
faas-cli up
Here is a genuine cold outreach email I got:
You are a founder of a startup, and a target for cold outreach email, spam, and nuisance messages. Use the best of your abilities to analyze this email, be skeptical, and ruthless. Respond in JSON with a categorization between -1 and 1, and a reason for your categorization in one sentence only. The categorization should be one of the following:

-1: Spam
0: Neutral
1: Legitimate

{
  "categorization": 0,
  "reason": "The email is a generic outreach message that does not provide any specific value or relevance to the recipient. It lacks personalization and seems to be part of a mass email campaign."
}


Subject: Alex, Quick idea for your LinkedIn

Body:
Hi Alex
Quick message to say hello 👋 and tell you about a new service for founders.

We can transform a 30-minute interview with you into a month of revenue-generating LinkedIn content through strategic repurposing. Here's what a month could like for you...

4 short video clips - 30-60 second highlights with captions
12 professionally written LinkedIn posts with images and graphics
1 long-form LinkedIn article - In-depth piece highlighting key insights

If you want to drive revenue with LinkedIn, that's what we do at Expert Takes

Reply if you'd like to learn more:)

Have a great day!
Bryan Collins
Director Expert Takes
No longer interested in these messages? Unsubscribe
Save the above as “email.txt”, then invoke the function with the email as input:
cat ./email.txt | faas-cli invoke filter-email
Here’s the result I received, which took 0m1.391s:
{
  "categorization": -1,
  "reason": "The email employs generic language, lacks specific details about the recipient's business, and utilizes a high-pressure, 'transformative' sales pitch, strongly indicating it's a spam or low-quality marketing message."
}
If you’d like to invoke the function via curl, run faas-cil describe filter-email to get the URL.
Let’s try another email, this time, you’ll need to repeat the prompt, edit email.txt:
Subject: Refurbished Herman Miller Aeron Office Chairs for Openfaas Ltd

Body:

Dear Alex,

I am writing this email to introduce our wonderful deals on Refurbished Herman Miller Aeron Office Chairs, which we are discounted by up to 70% on the price of new ones!

Would you like to slash the cost of your office refurbishment by purchasing high quality chairs that will last for years?

The Aeron Office Chair is one of the best on the market and these are literally a fraction of the new price.

We have sizes A ,B & C in stock too with prices starting from just £450 each!

See our current stock here

All our chairs come with 12 months warranty on all parts, have a 14 day money-back guarantee and we provide a nationwide delivery service.

Discover more here

Kind Regards,

Michael Watkins

MW Office Furniture
Result:
{
  "categorization": -1,
  "reason": "This email employs a highly generic sales pitch for refurbished furniture, lacks any specific connection to Openfaas Ltd, and uses common sales tactics likely associated with spam."
}
Now whenever you’re doing any kind of testing, it’s just as important to do a negative test as it is a positive one.
So if you were planning on using this code, make sure that you get a categorization of 1 for a legitimate email from one of your customers.
Invoke the function asynchronously for durability and scale
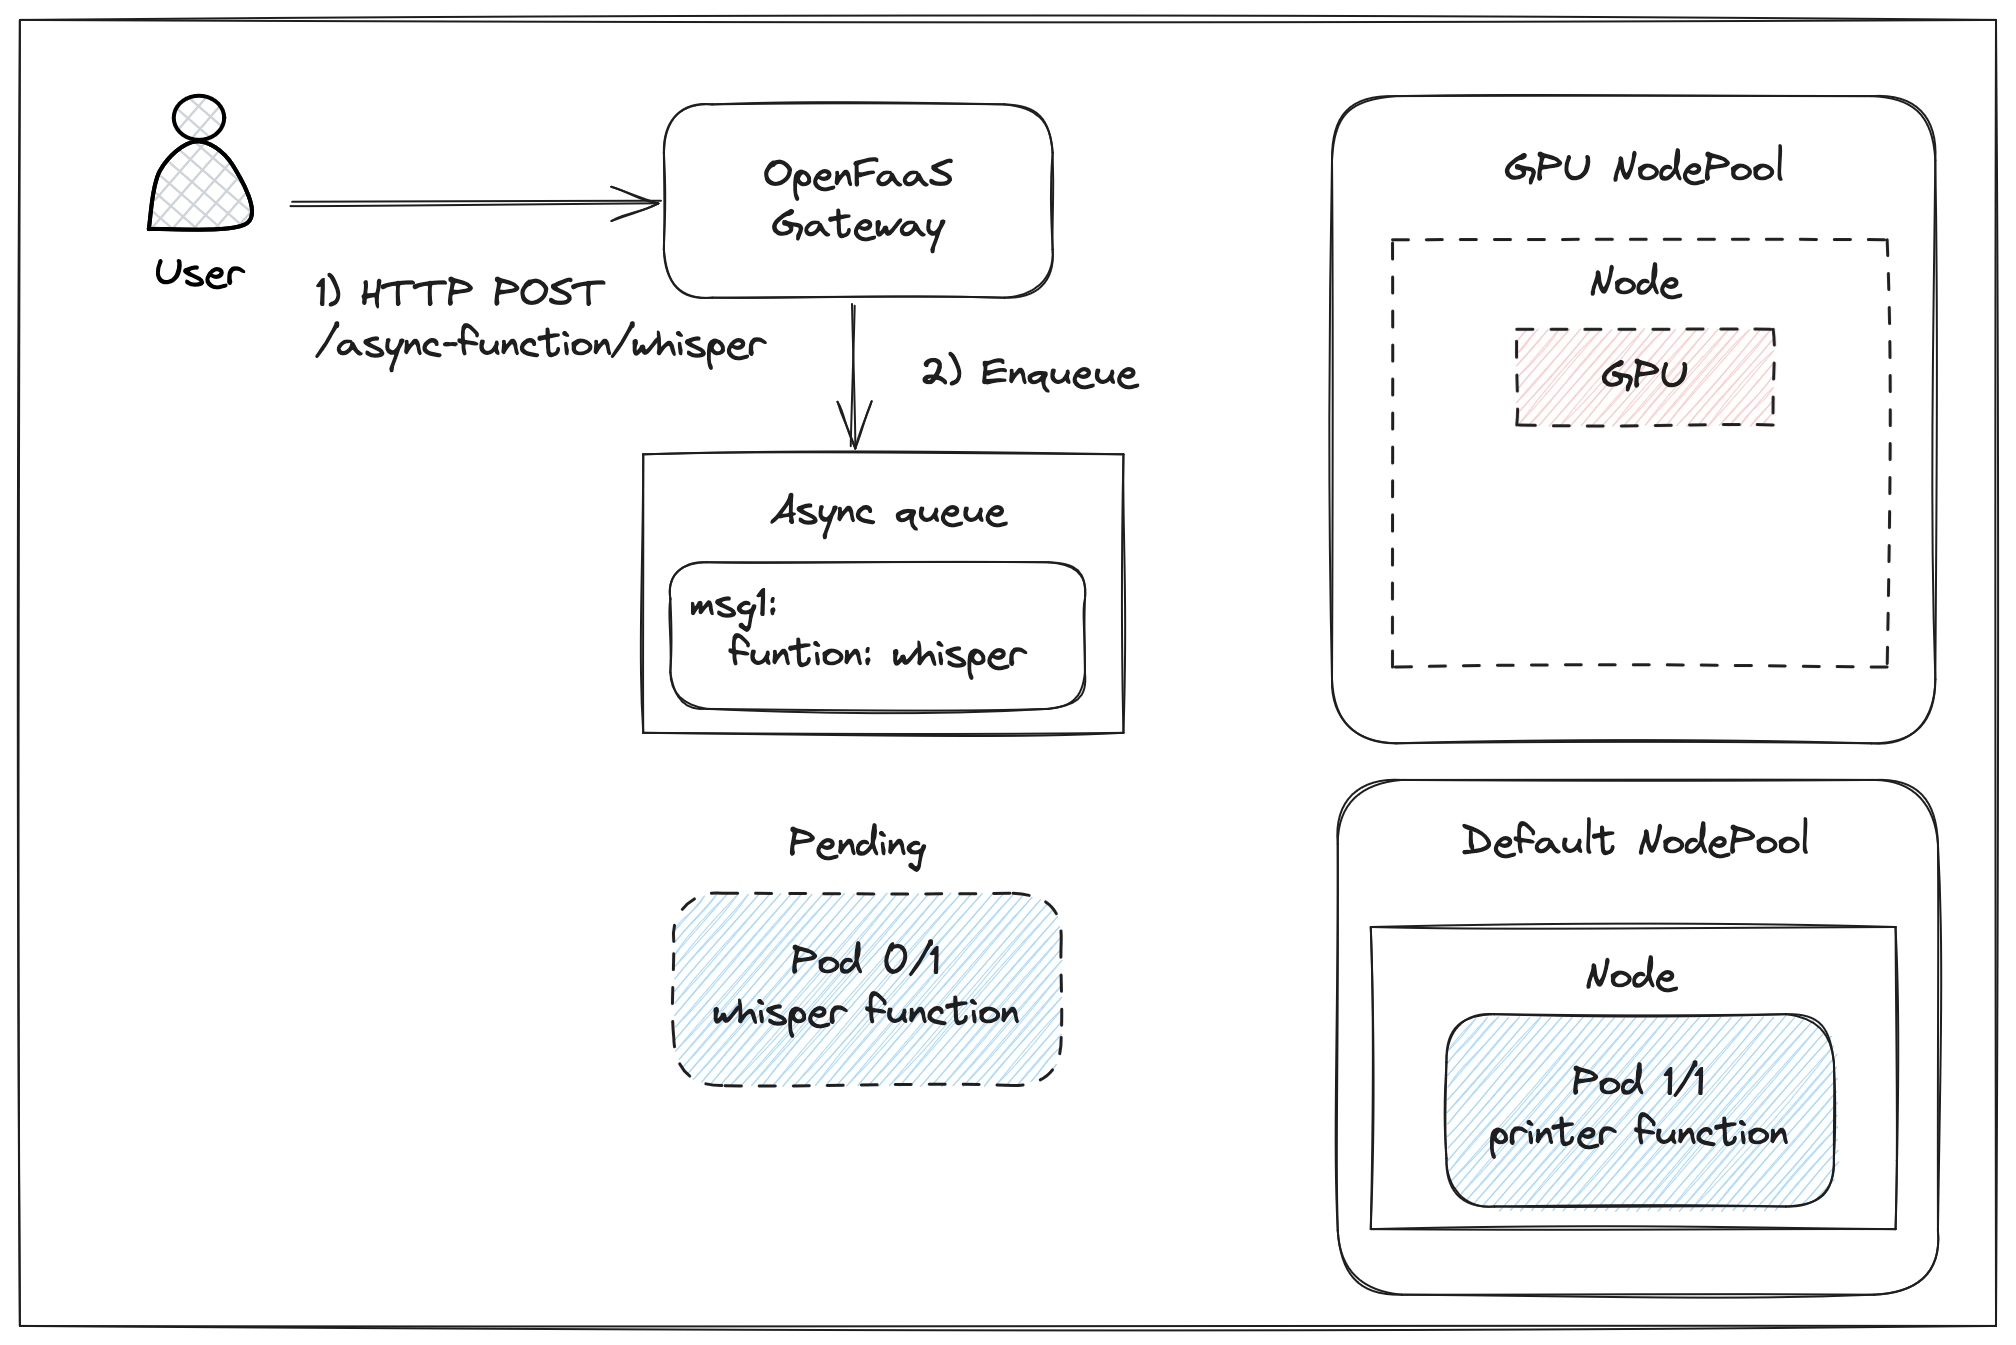
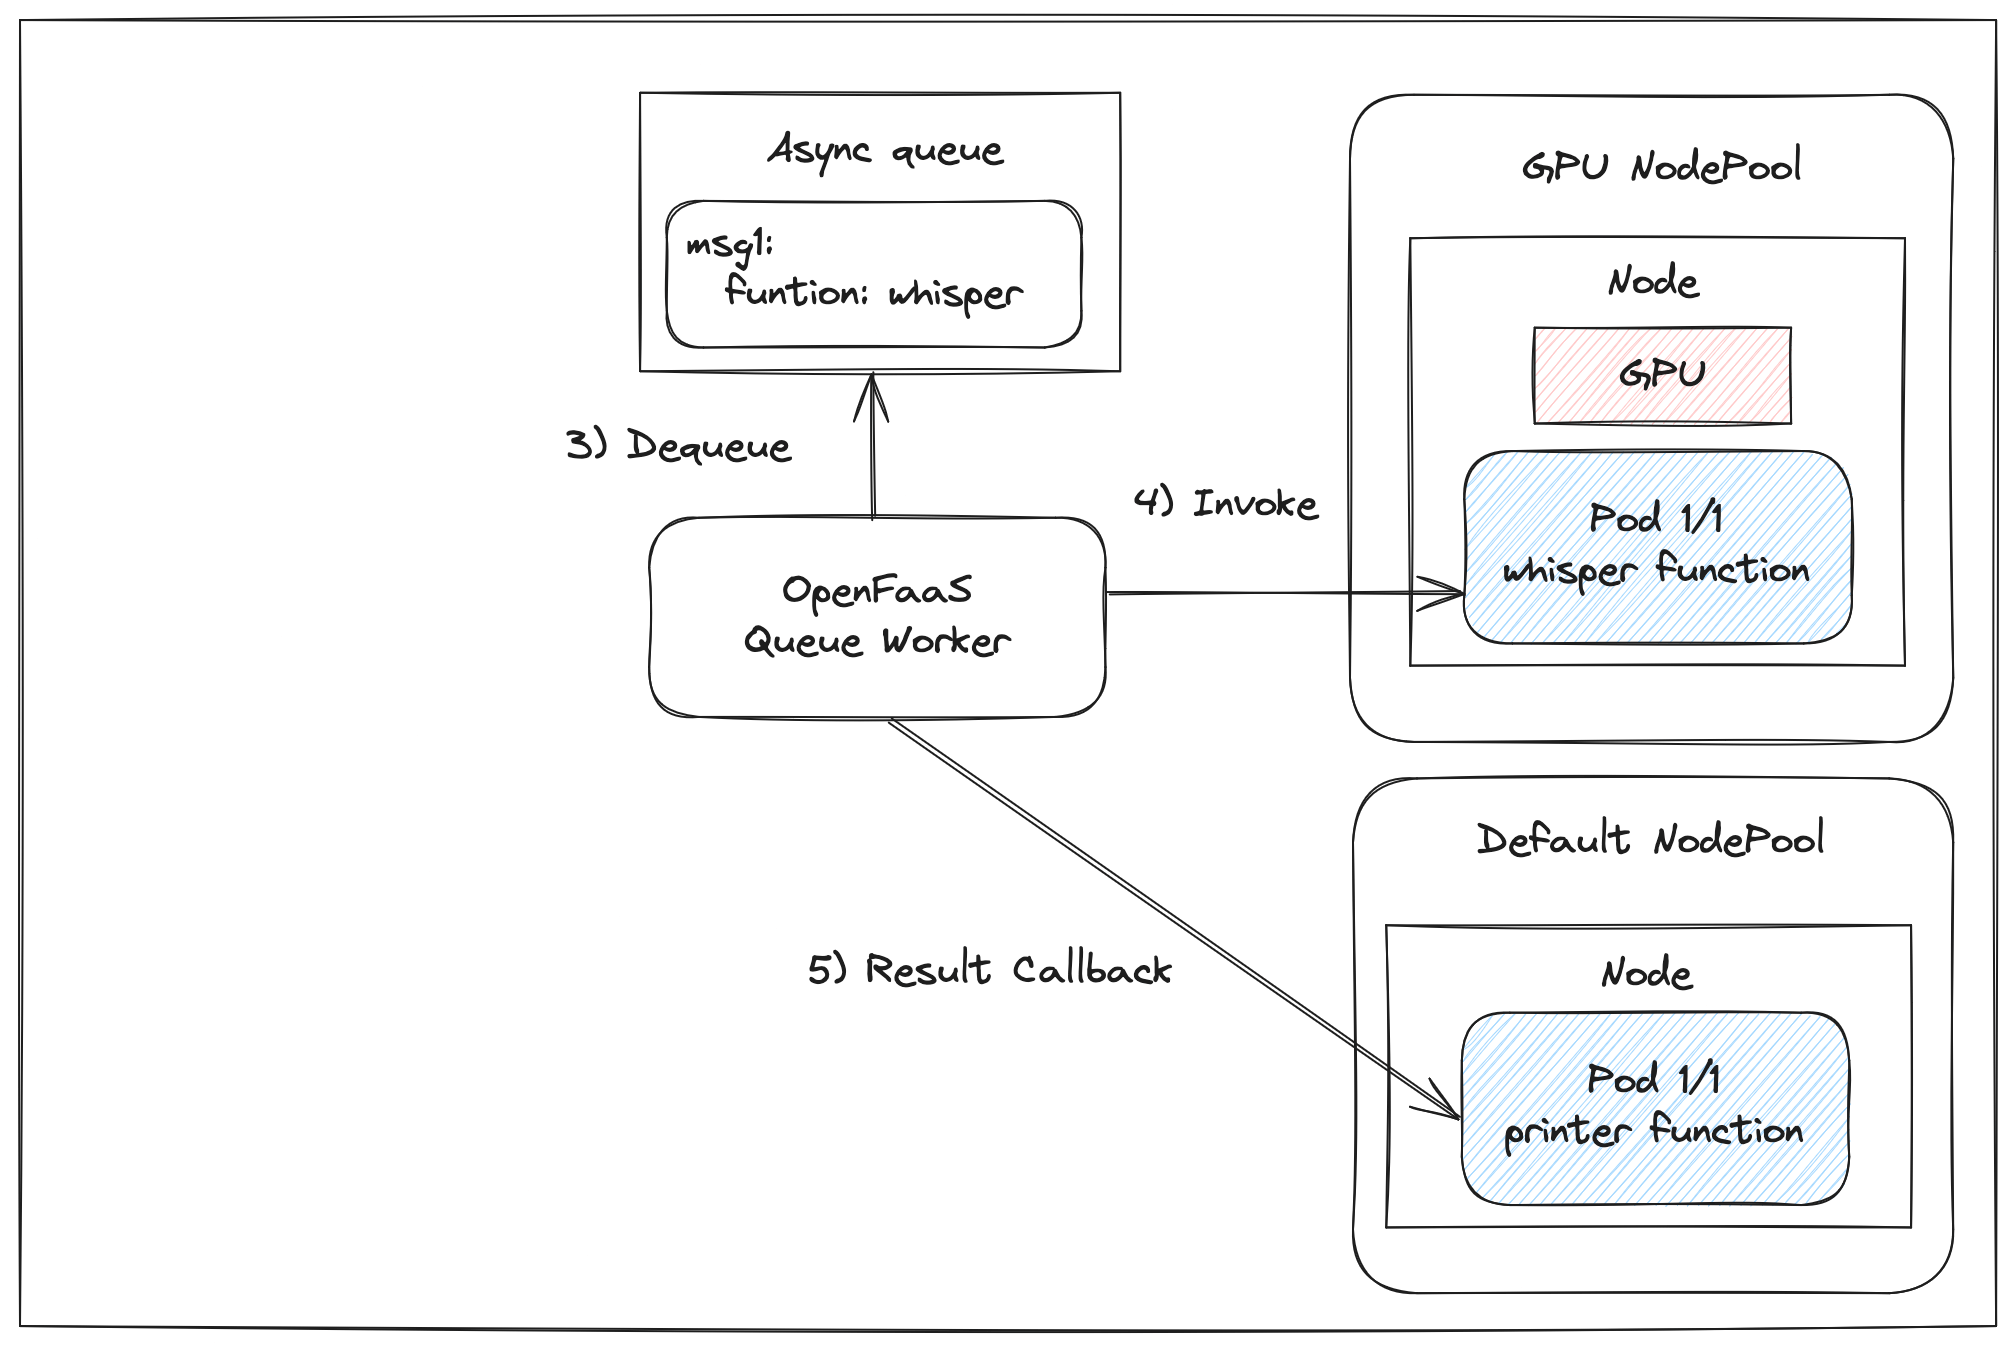
Many of us have grown used to API calls taking milliseconds to execute, particularly in response to events such as webhooks. However LLMs can take seconds to minutes to respond to requests, especially if they involve a reasoning stage like DeepSeek R1.
One way to get around this, is to invoke the function asynchronously, which will queue the request and return an immediate HTTP response to the caller, along with an X-Call-Id header.
You can register a one-time HTTP callback/webhook by passing in an additional X-Callback-Url header to the request. The X-Call-Id will be returned along with the status and body of the invocation.
Here’s an example:
curl -i http://127.0.0.1:8080/async-function/filter-email \
    --data-binary @./email.txt \
    -H "X-Callback-Url: http://gateway.openfaas:8080/function/email-result
Now, we could queue up hundreds or thousands of asynchronous invocations, and each will be processed as quickly as the function can handle them. The “email-result” function will receive the responses, and can correlate the X-Call-Id with the original request.
If you’d like to try out an asynchronous invocation and don’t have a receiver function, just remove the extra header:
curl -i http://127.0.0.1:8080/async-function/filter-email \
    --data-binary @./email.txt
Now look at the logs of the filter-email function to see the processing:
faas-cli logs filter-email
Further work for the function
Our specific function was kept simple so that you can adapt it for your own needs, but perhaps if you were going to deploy this to production, you could improve the solution:
- Index or save tokenized emails in a vector database for future reference and training
- Let the LLM perform RAG to check for similar emails in the past, increasing confidence
- Allow for a human-in-the-loop to approve or reject the categorization via a Slack or Discord message with a clickable button
- Run two small models at the same time, and get a consensus on the categorization by invoking both in serial and combining the results
Whilst Ollama does not yet support multi-modal models, which can process and produce images, audio and video, it is possible to run OpenAI’s Whisper model to transcribe audio files, and then to use the text output as input to a model.
You can deploy the function we wrote previously on the blog that uses Whisper to OpenFaaS Edge as a core service, then send it HTTP requests like we did to the Ollama service.
You may find that despite the hype around LLMs, they are not a one-size fits all solution.
An alternative that is popular for classification is to use BERT (Bidirectional Encoder Representations from Transformers), a state-of-the-art NLP model from Google.
There’s good examples on the Kaggle, Keras, and Tensorflow sites.
Conclusion
The latest release of OpenFaaS Edge adds support for Nvidia GPUs for core services defined in the docker-compose.yaml file. This makes it easy to run local LLMs using a tool like Ollama, then to call them for a wide range of tasks and workflows, whilst retaining data privacy and complete confidentiality.
The functions can be written in any language, both synchronously and asynchronously for durability and scaling out.
Your function could be responding to a webhook, an event such as an incoming email, or get triggered from a cron schedule, to process data from a Google Sheet, S3 bucket, or database table.
If you’d like to discuss ideas and get a demo of anything we’ve talked about, feel free to attend our weekly call - or reach out via our pricing page.
We’ve covered various AI/LLM related topics across our blog in the past:
- Eradicate Cold Emails From Gmail for Good With OpenAI and OpenFaaS
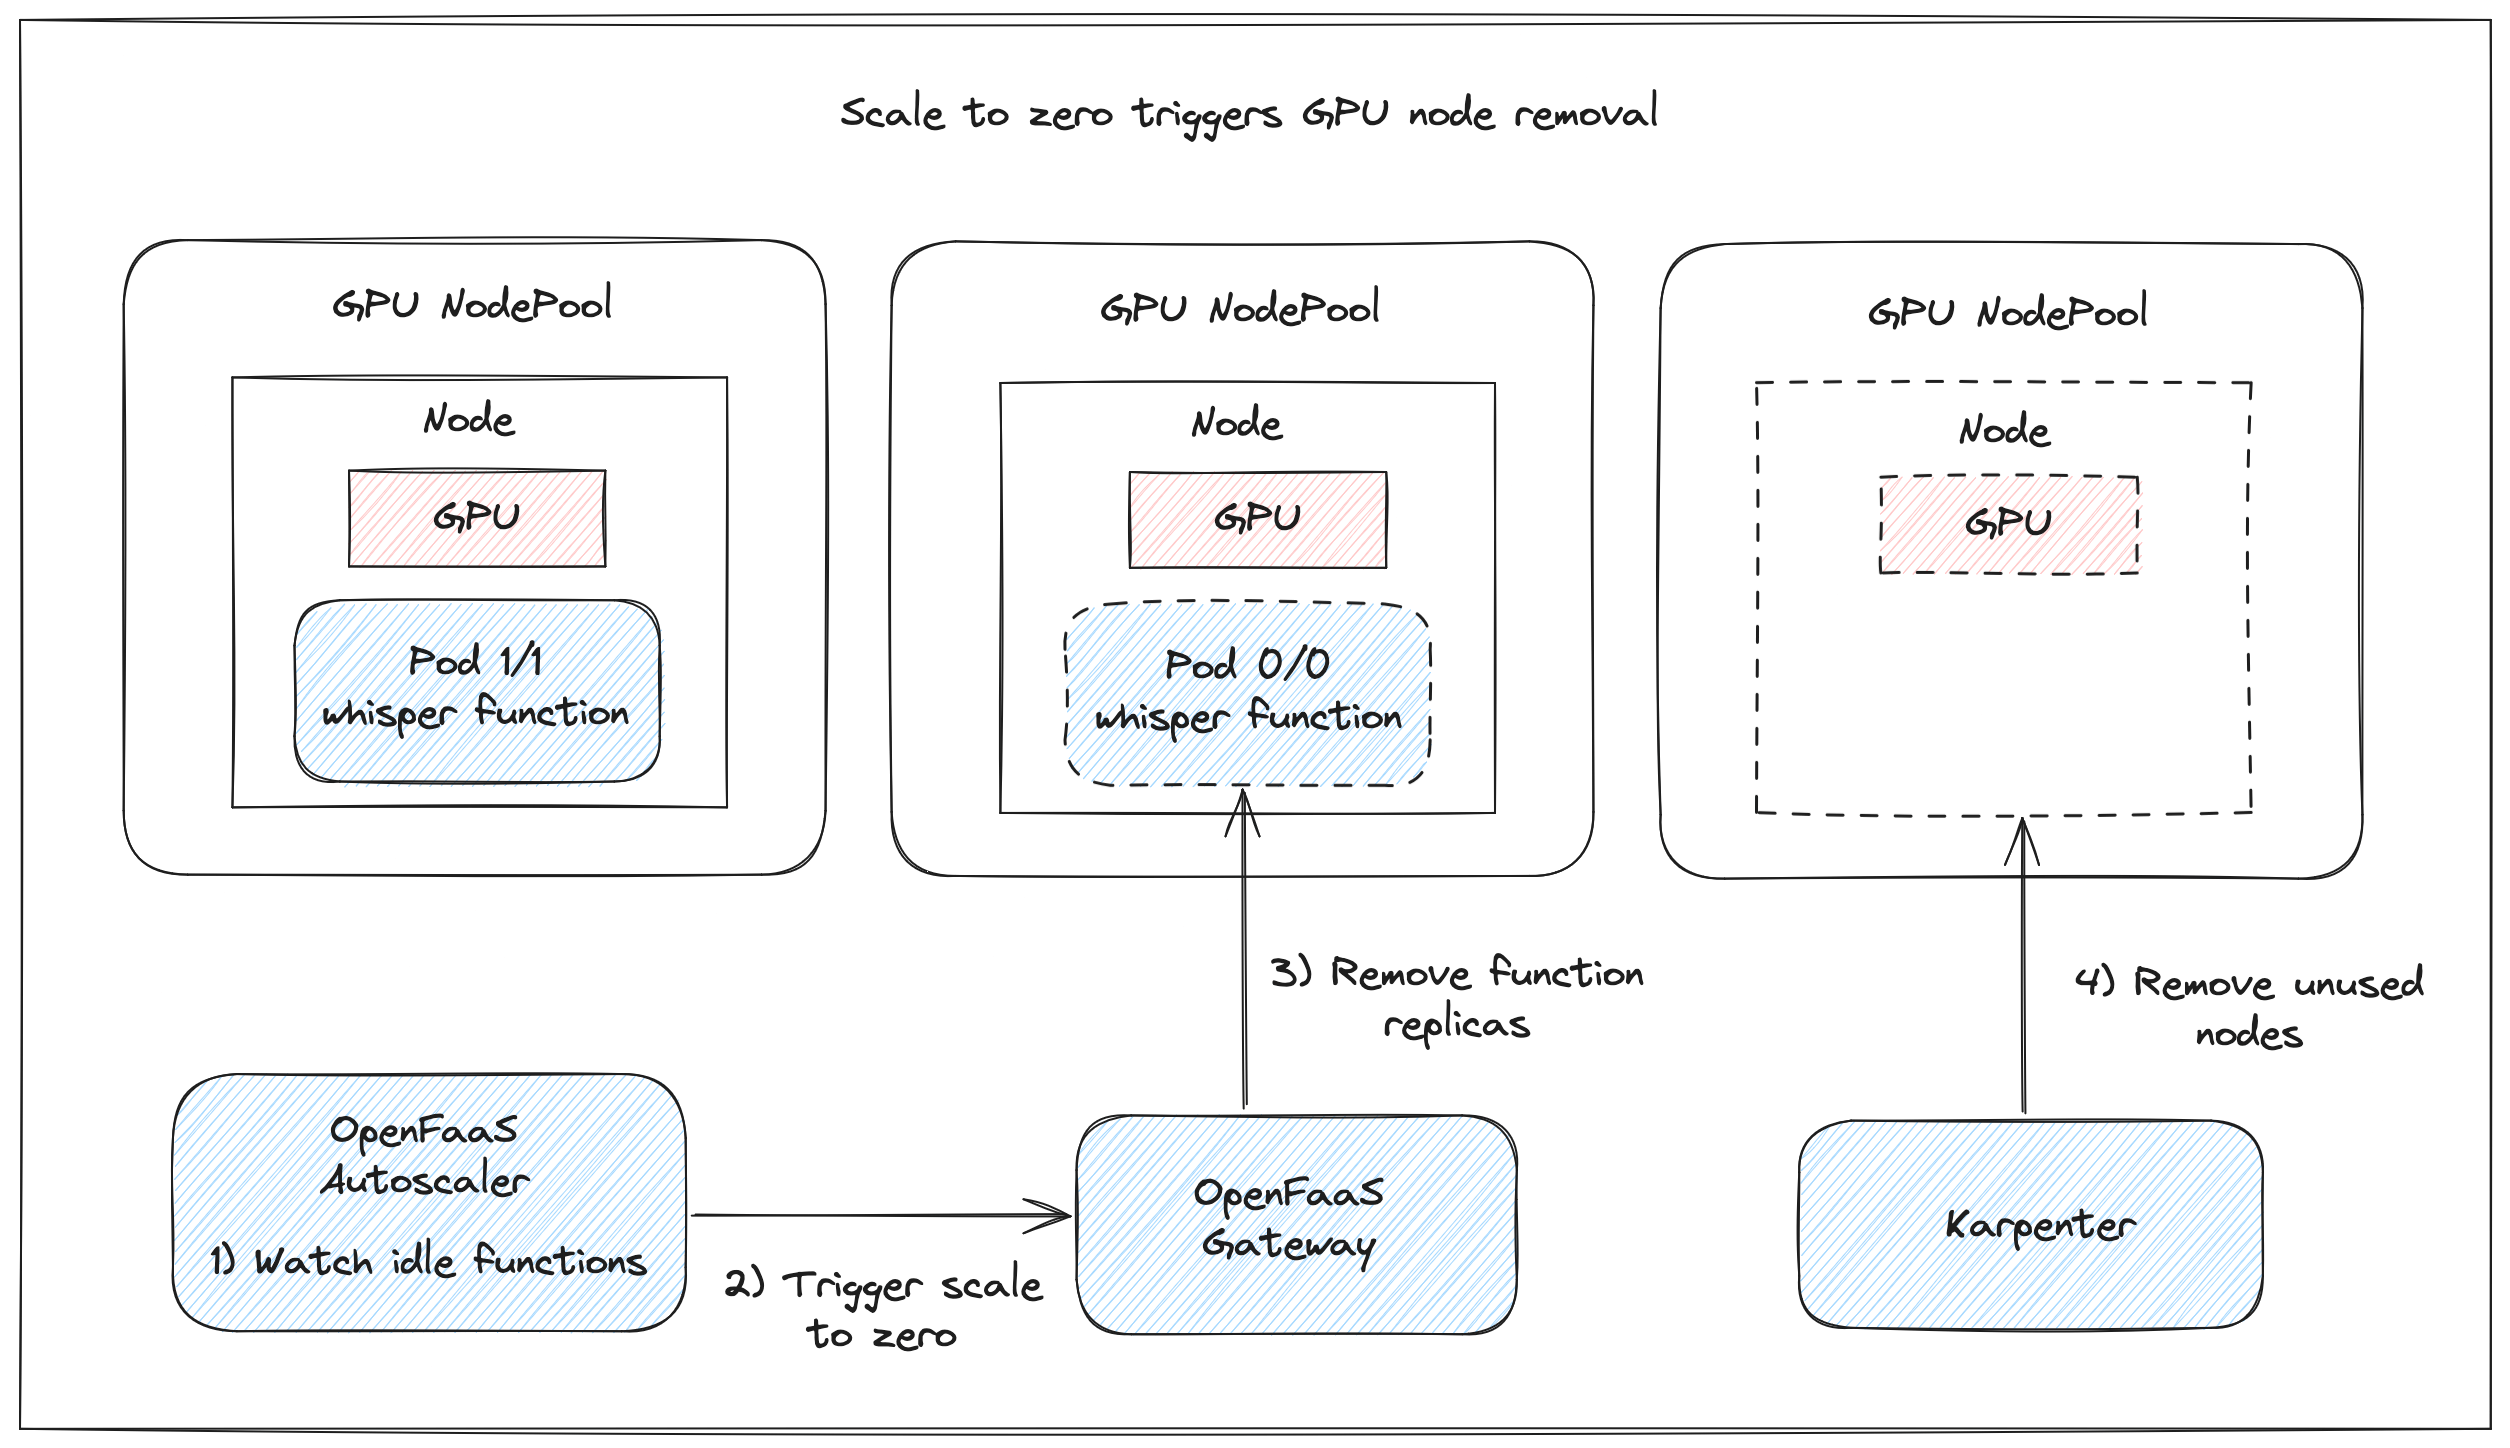
- Scale to zero GPUs with OpenFaaS, Karpenter and AWS EKS
- How to check for price drops with Functions, Cron & LLMs
- How to transcribe audio with OpenAI Whisper and OpenFaaS
From our sister brands:
- Inlets - Access local Ollama models from a cloud Kubernetes Cluster
- Actuated - Run AI models with ollama in CI with GitHub Actions
- Actuated - Accelerate GitHub Actions with dedicated GPUs
Disclosure: Ampere Computing is a client of OpenFaaS Ltd
]]>