There’s some debate on what “Cloud Native” means, in this post we explore tools used in a recent webinar that make Kubernetes easy for developers.
In this post we’ll focus on deploying a Cloud Native application and infrastructure using Kubernetes and OpenFaaS. For more on what makes a Cloud Native Tool, see Alex’s introduction in the webinar we presented to the Traefik community recently:
The post will be split into two parts.
In part 1 we deploy the infrastructure and the tooling:
- k3s - a full, compliant Kubernetes distribution.
- k3sup - an installer for k3s that uses SSH for automation
- arkade - the easy way to install Helm charts and apps to clusters
- inlets-operator for incoming networking, using inlets PRO
- faas-cli - to operate OpenFaaS
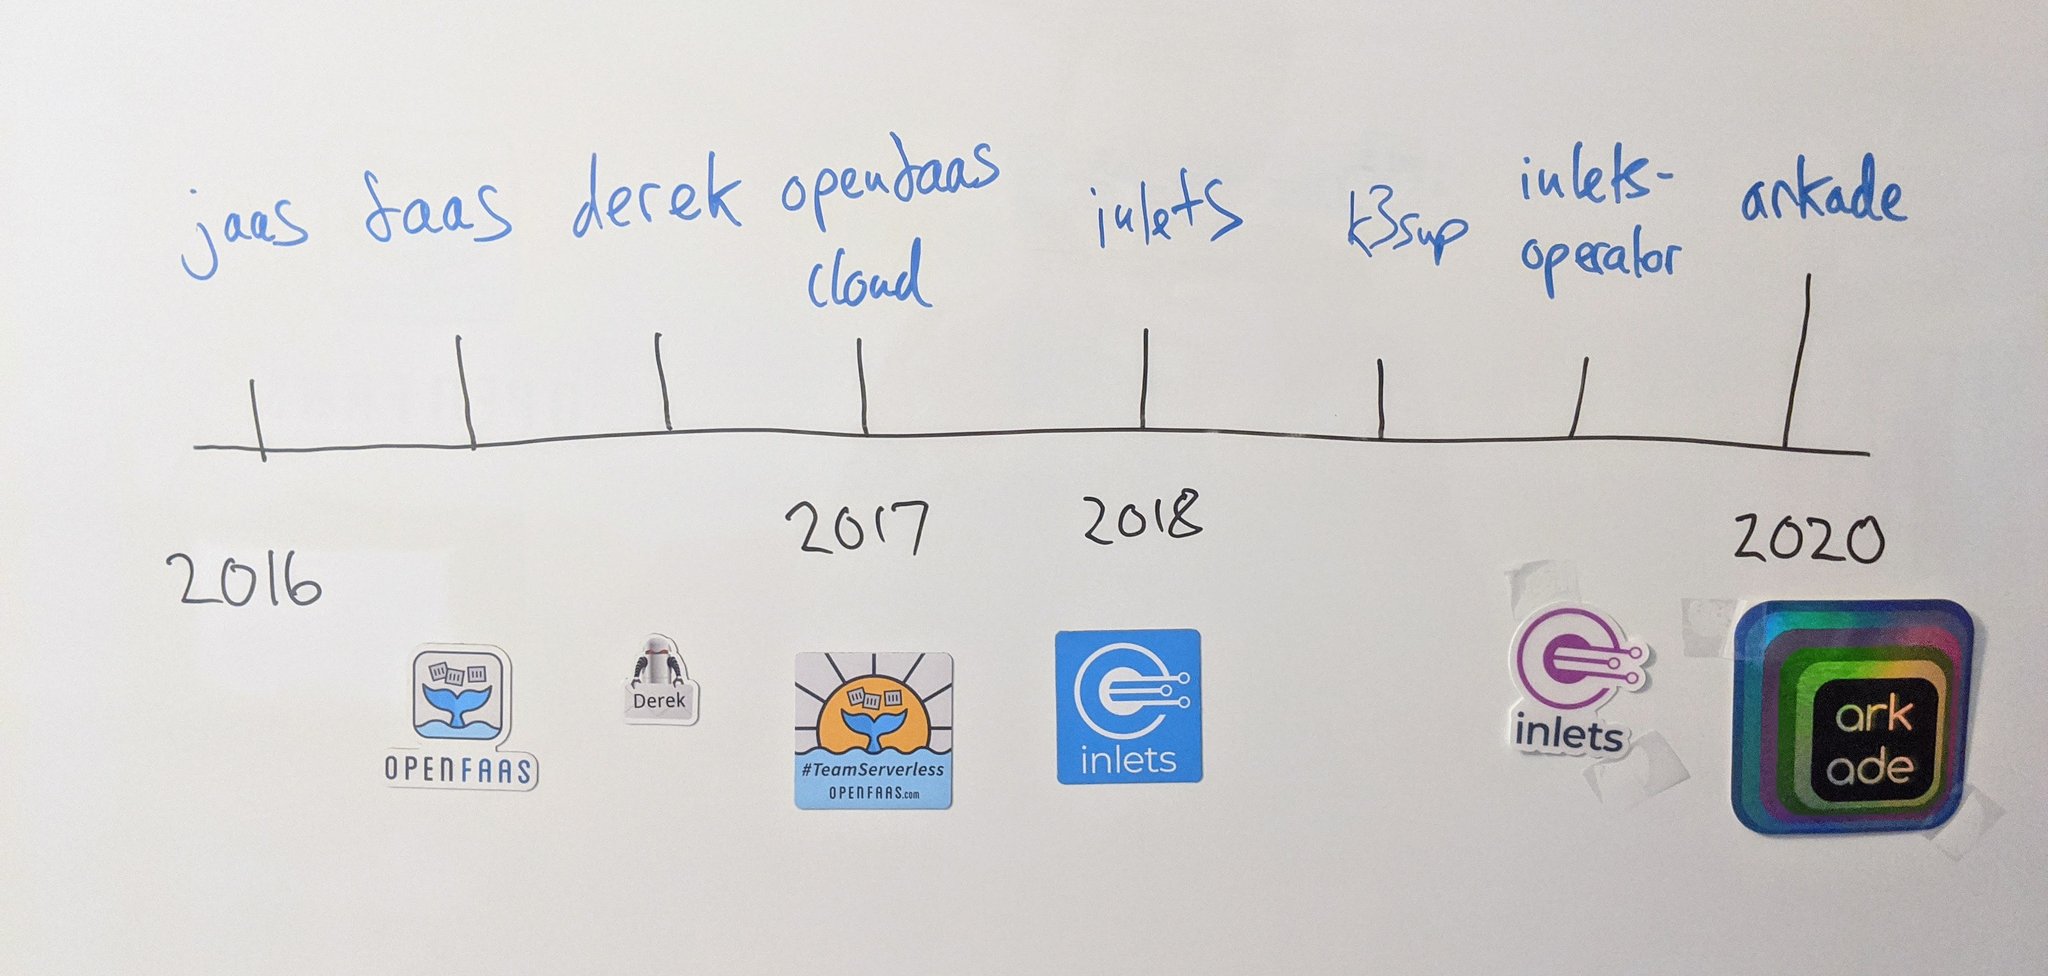
Many of the tools we’re using today were started by Alex, and now have a community of open source developers contributing to them on a regular basis.
In part 2, we’ll then deploy a full stack application called comment-vibes, the demo collects emojis posted to GitHub issues and tallies them up on a summary page. The data is stored in Postgresql and is an example that you could adapt to your own needs using other APIs or data sources.
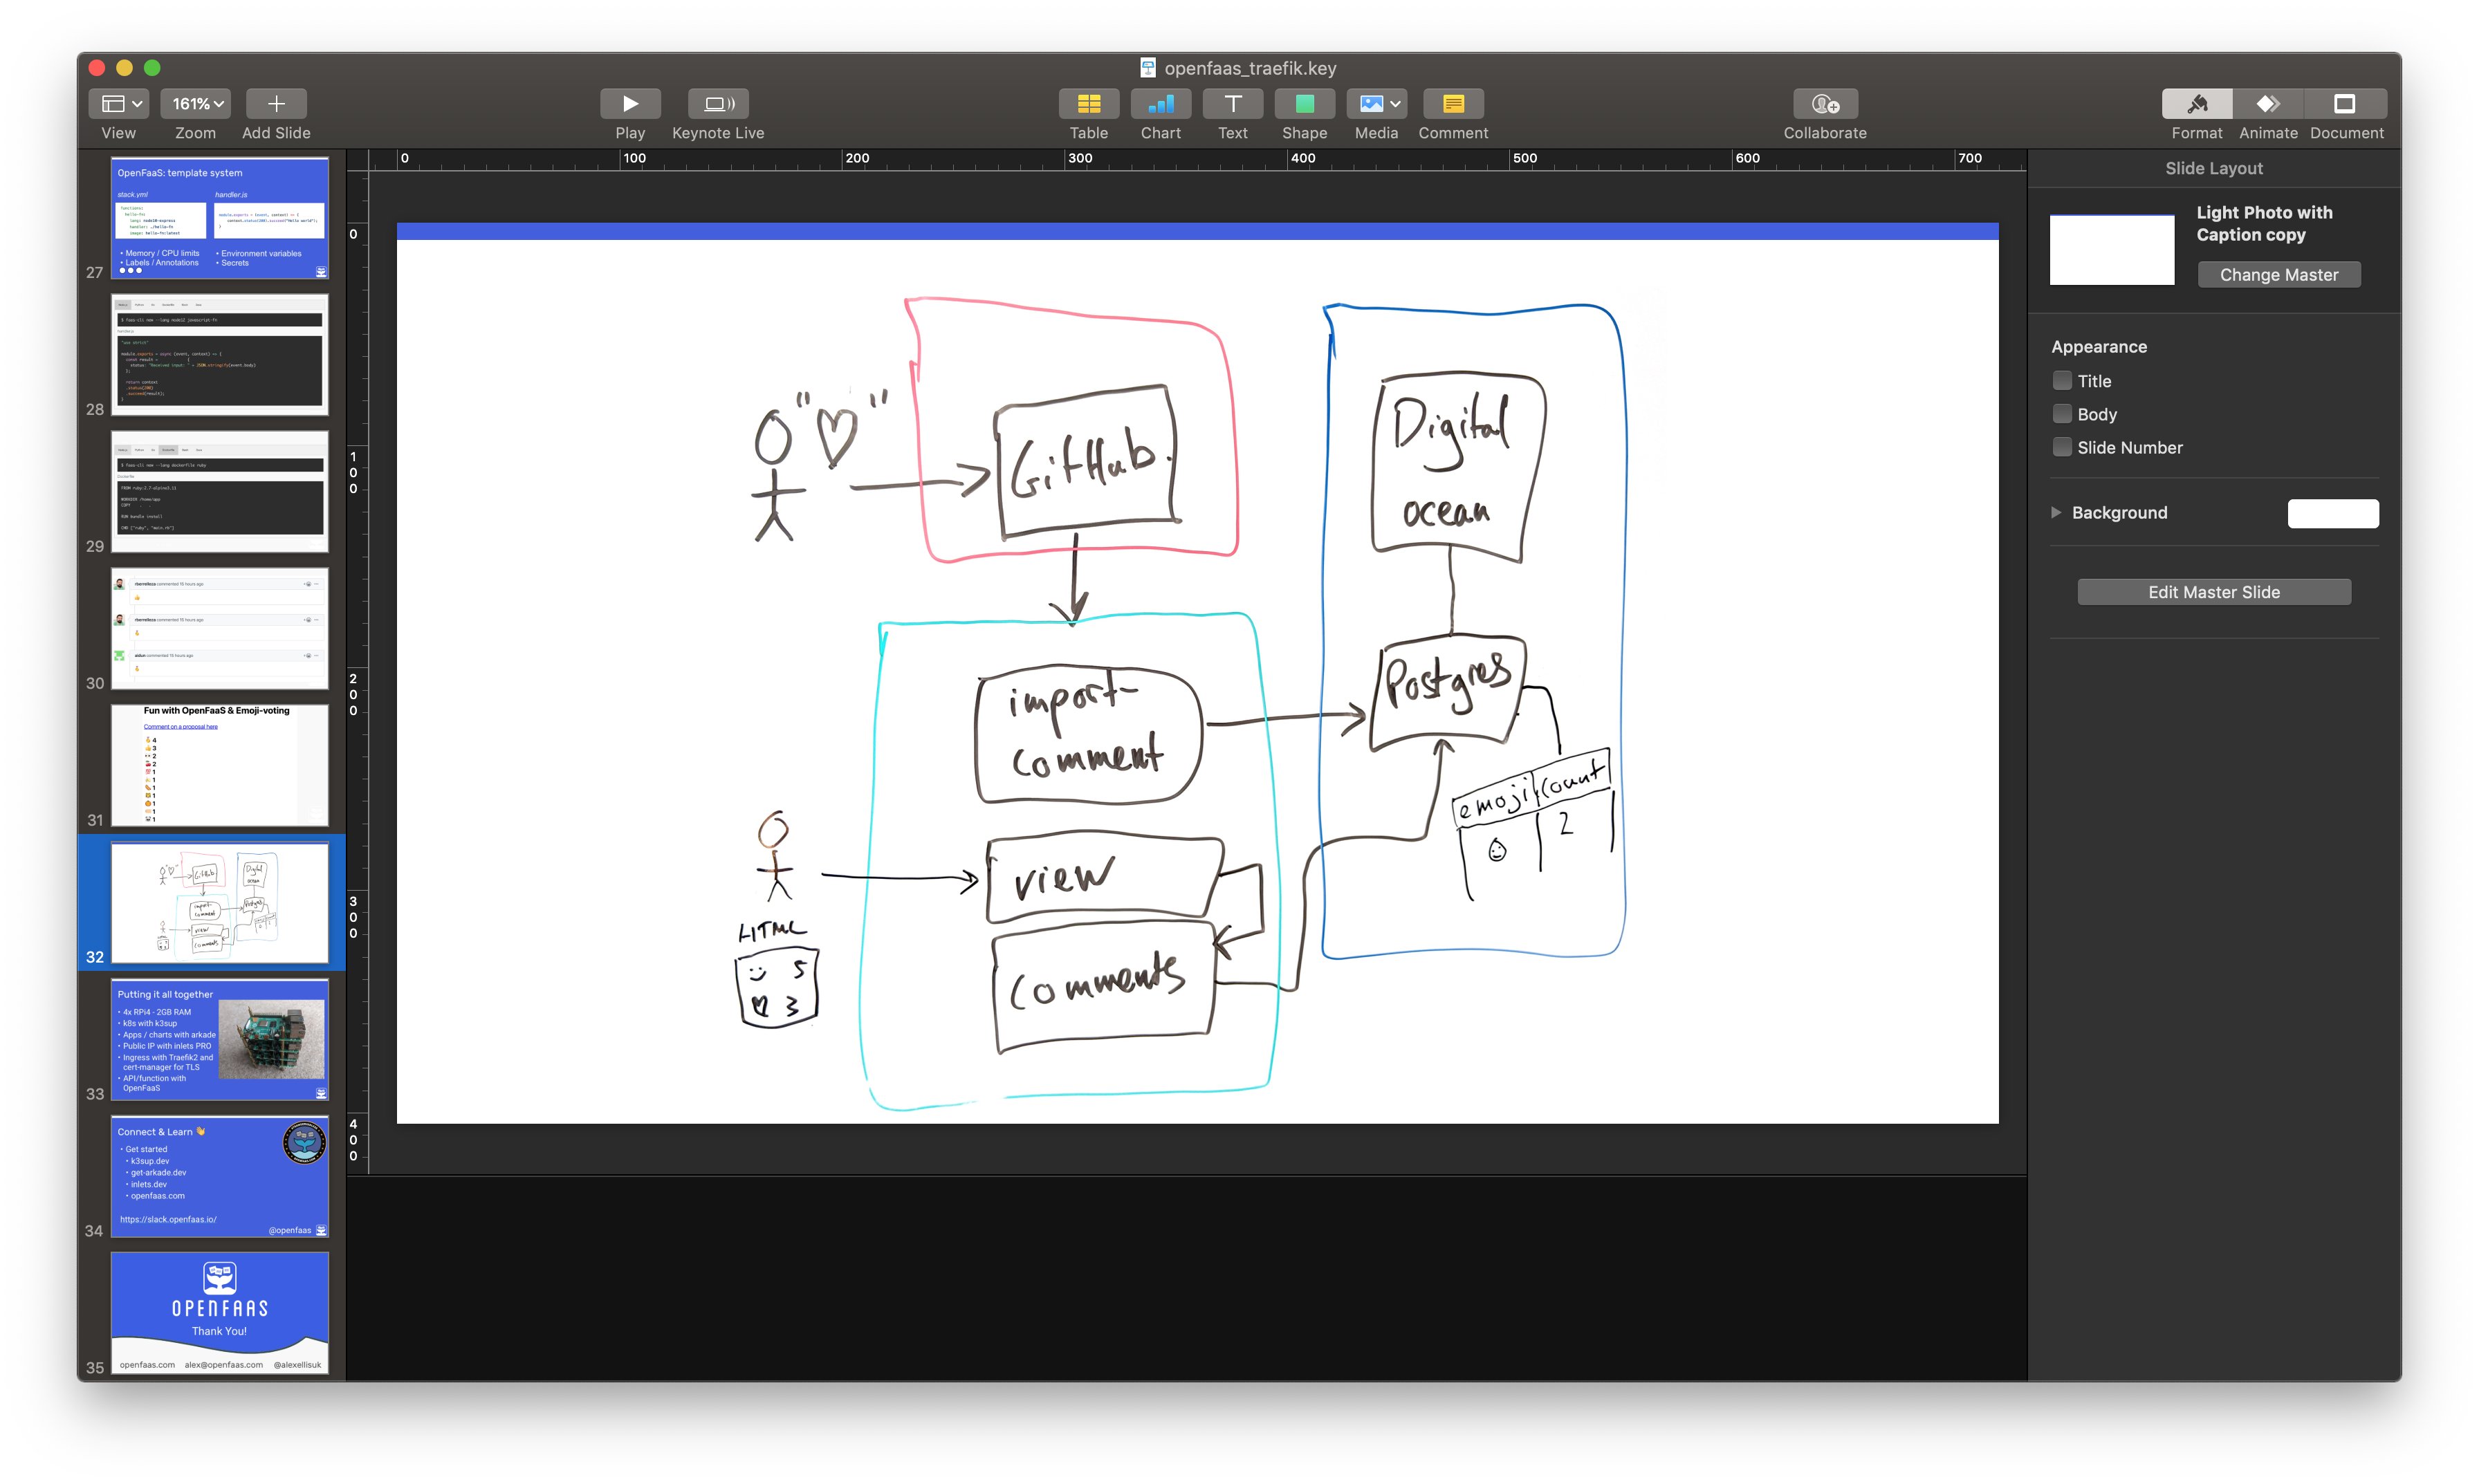
The Postgresql table is populated via webhooks from GitHub, and the user can see the tally via the view function.
Part 1 - the infrastructure and tools
Install k3sup
k3sup can install k3s to any host, whether a VM, a bare-metal host, or a local computer. k3s can also detect the CPU architecture and make choices about whether you’re working with ARM or Intel CPUs.
Download and install k3sup:
curl -sLS https://get.k3sup.dev | sh
chmod +x k3sup
sudo install k3sup /usr/local/bin/
Install k3s
We are going to use 4x VMs for our cluster with the first being the server and the other three being worker nodes. With k3s, all nodes can run workloads.
I’d recommend using at least 2 GB of RAM and 2 vCPUs, but you can run k3s on platforms as small as a Raspberry Pi.
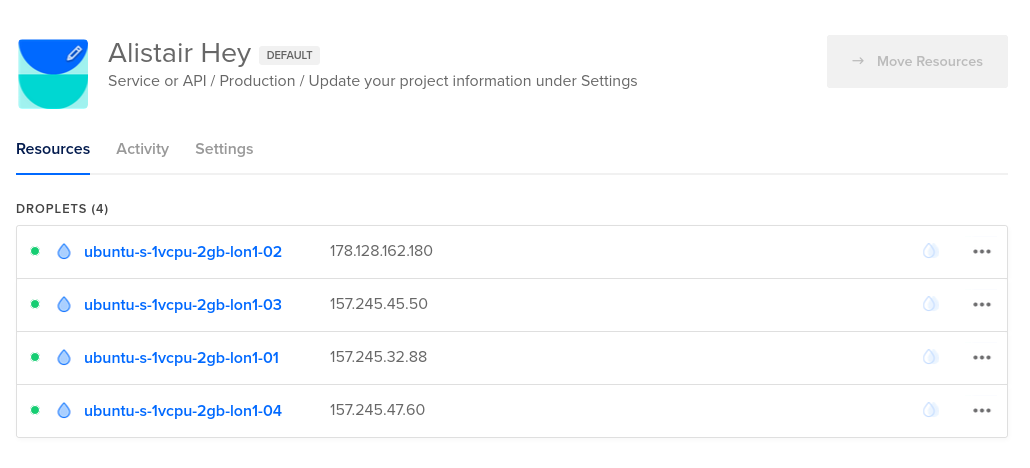
I have put the IP addresses into the following environment variables:
export MASTER_IP=178.128.162.180
export WORKER_1_IP=157.245.45.50
export WORKER_2_IP=157.245.32.88
export WORKER_3_IP=157.245.47.60
Replace the 4 IPs with the ones for your instances. You can also use a different number of nodes if you wish, just amend the below commands as required.
When using K3s our “master” node can also be used to schedule work unlike normal k3s, so we get even more resources to use for our own applications.
I’m using the user
k3sin the below examples. I have logged into each VM and created ak3suser and added my SSH key to the user’s~/.ssh/authorised_keys.
To make the next steps easier for you I have used an environment variable for the user, some providers create different ones for you.
export USER="k3s"
Let’s first install k3s on our master node.
By passing the
--no-extrasflag we are going to exclude the installation of some extras that k3s bundles, which you may find distracting such as Traefik and the built-in LoadBalancer calledservicelb.
k3sup install --ip $MASTER_IP --user $USER --no-extras
When this finished we should have a kubeconfig file in our current directory. We can verify the installation by checking
that we can connect to the cluster using the kubeconfig.
export KUBECONFIG=/full/path/to/kubeconfig

kubectl get nodes -o wide

NAME                         STATUS   ROLES    AGE   VERSION        INTERNAL-IP       EXTERNAL-IP   OS-IMAGE             KERNEL-VERSION      CONTAINER-RUNTIME
ubuntu-s-1vcpu-2gb-lon1-02   Ready    master   14m   v1.17.2+k3s1   178.128.162.180   <none>        Ubuntu 18.04.3 LTS   4.15.0-66-generic   containerd://1.3.3-k3s1
Now we have verified our master node is up we can join our 3 extra workers.
These commands below will install the k3s worker agent on the nodes and join them to the cluster.
k3sup join --user $USER --server-ip $MASTER_IP --ip $WORKER_1_IP
k3sup join --user $USER --server-ip $MASTER_IP --ip $WORKER_2_IP
k3sup join --user $USER --server-ip $MASTER_IP --ip $WORKER_3_IP
We can check that these nodes joined by running kubectl get nodes -o wide again.
NAME                         STATUS   ROLES    AGE   VERSION        INTERNAL-IP       EXTERNAL-IP   OS-IMAGE             KERNEL-VERSION      CONTAINER-RUNTIME
ubuntu-s-1vcpu-2gb-lon1-02   Ready    master   16m   v1.17.2+k3s1   178.128.162.180   <none>        Ubuntu 18.04.3 LTS   4.15.0-66-generic   containerd://1.3.3-k3s1
ubuntu-s-1vcpu-2gb-lon1-03   Ready    <none>   93s   v1.17.2+k3s1   157.245.45.50     <none>        Ubuntu 18.04.3 LTS   4.15.0-66-generic   containerd://1.3.3-k3s1
ubuntu-s-1vcpu-2gb-lon1-01   Ready    <none>   72s   v1.17.2+k3s1   157.245.32.88     <none>        Ubuntu 18.04.3 LTS   4.15.0-66-generic   containerd://1.3.3-k3s1
ubuntu-s-1vcpu-2gb-lon1-04   Ready    <none>   39s   v1.17.2+k3s1   157.245.47.60     <none>        Ubuntu 18.04.3 LTS   4.15.0-66-generic   containerd://1.3.3-k3s1
Install our Kubernetes Applications with arkade
Now we have our cluster up and running, it is time to start installing the rest of the applications using arkade.
arkade is a CLI written in Go that can install Kubernetes helm charts and apps for you, but rather than
having to maintain a values.yaml file, you can use flags. You’ll see examples of this in a moment.
Install arkade:
curl -sLS https://get.arkade.dev | sh
chmod +x arkade
sudo install arkade

arkade --help
arkade apps use sane defaults where possible. For any configuration that can’t be defaulted it provides flags
to get the required information. For example, the openfaas-ingress app requires a domain name and email address
to be provided by the user for use with LetsEncrypt.
$ arkade install openfaas-ingress
Error: both --email and --domain flags should be set and not empty, please set these values
We’ll come back to this app, do not install it yet.
Install traefik2
When we installed our k3s cluster using k3sup we used the --no-extras flag. This means we didn’t install the k3s
default IngressController which is Traefik v1.0. This is the latest version of the
Let’s install traefik2 instead:
arkade install traefik2
This will install the traefik2 Custom Resource Definition (CRD) IngressRoute
which can be used to configure your ingress with more control than using the default auto-discovery
provided by traefik. You can still use Ingress definitions that you may be used to.
Install the inlets-operator (Optional)
If you are building your cluster inside a private network, on your laptop, or on a Raspberry Pi, then you will need a public IP address to obtain TLS certificates and to serve traffic for the demo.
inlets is a Cloud Native Tunnel that provides an easy way to get that IP address through “exit nodes”. The inlets-operator project automates the provisioning of inlets exit nodes, and the routing of requests to your services.
For you to get TLS certificates and HTTPS URLs you will need to use inlets PRO which is a commercial version of inlets.
inlets PRO can support L4 TCP tunneling, while the open source version only supports L7
HTTP tunneling.
inlets requires an API Key for one of the supported cloud providers, I am using DigitalOcean for my nodes, so may as well
use the same provider for the inlets exit nodes. I have downloaded the token and put it into a file ~/do-token.
export LICENSE=<your-license-here>
arkade install inlets-operator -t ~/do-token --license $LICENSE
This will install everything you need to automatically get a public IP from your chosen inlets provider when you create a Kubernetes service which requests an external IP.
See arkade install inlets-operator --help or the inlets-operator repo for a list
of supported cloud providers.
Install cert-manager
cert-manager automates the provisioning of TLS certificates for your Kubernetes clusters. We’ll be using it to get a certificate for the OpenFaaS gateway.
Install cert-manager with arkade:
arkade install cert-manager
Install OpenFaaS
Now we have almost all of our “platform” applications installed, its time to install OpenFaaS
OpenFaaS makes it simple to deploy both functions and existing code to Kubernetes.
We are going to deploy some Serverless functions into our cluster using OpenFaaS to manage these deployments a little later in this post.
arkade install openfaas
We can then wait for the deployment to finish:
$ kubectl rollout status -n openfaas deploy/gateway
Waiting for deployment "gateway" rollout to finish: 0 of 1 updated replicas are available...
deployment "gateway" successfully rolled out
Now to check that everything is ok with the OpenFaaS installation. We need to forward the traffic for the OpenFaaS gateway to our local machine.
#Grab the OF Dashboard pwd
kubectl get secret \
    -n openfaas basic-auth \
    -o jsonpath={.data.basic-auth-password} | base64 --decode; echo

kubectl port-forward svc/gateway -n openfaas 31112:8080
Grab the password that the first command printed out, mine was l8C3732h5EZN5usx8dHF8UPj6.
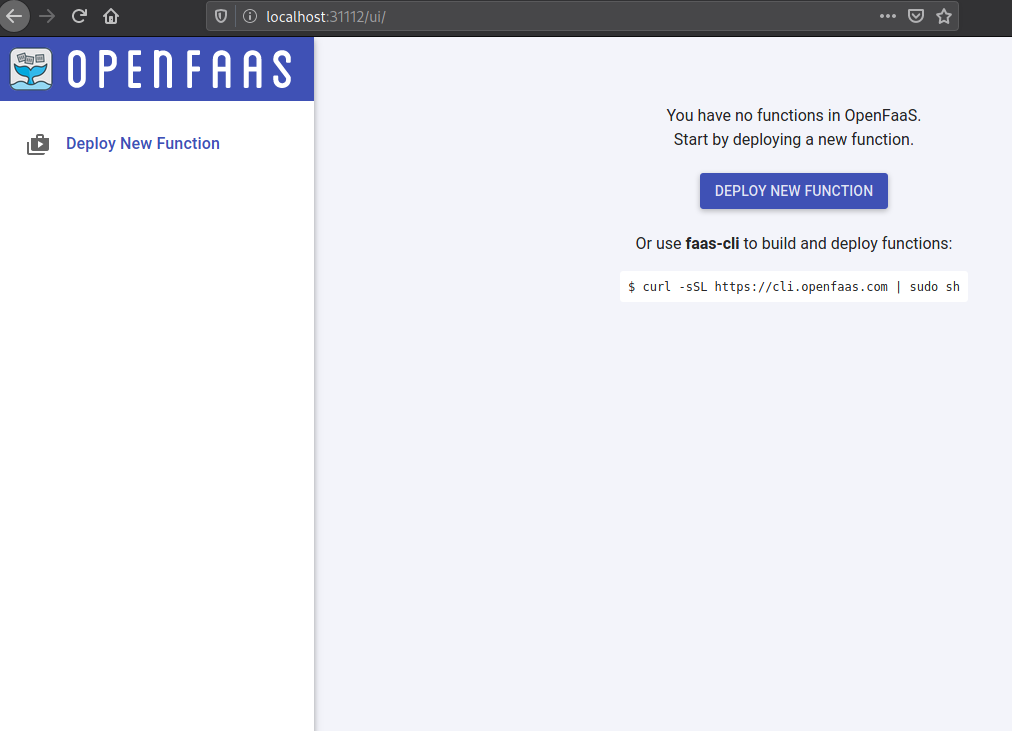
Now head to http://localhost:31112/ui/ and login with username: admin and your password.
You should then be greeted with the OpenFaaS Dashboard.
If you forget your password or how to use the OpenFaaS arkade app, simply run:
arkade info openfaas
And you’ll have the instructions printed out again.
Setup DNS Records
Find the IP address of Traefik’s LoadBalancer service, you’ll notice the IP address was populated by the inlets-operator.
kubectl get svc -n kube-system traefik

NAME      TYPE           CLUSTER-IP      EXTERNAL-IP    PORT(S)                      AGE
traefik   LoadBalancer   10.43.161.149   167.172.55.6   80:31199/TCP,443:30157/TCP   36m
You can also see the IP via the tunnel CRD:
kubectl get tunnels -n kube-system
Create a DNS A record. The DigitalOcean CLI doctl makes this very simple:
doctl compute domain create \
  openfaas.example.com \
  --ip-address 167.172.55.6
Install openfaas-ingress
The openfaas-ingress app uses a series of templates to take your user-input and generate
everything that’s required for Kubernetes Ingress and for cert-manager to obtain a TLS certificate
for the OpenFaaS gateway.
Please use your email and domain in place of the example.com values from now on!
$ arkade install openfaas-ingress \
    --email your-email@example.com \
    --domain openfaas.example.org \
    --ingress-class traefik

Using kubeconfig: /home/heyal/kubeconfig
2020/03/19 13:24:20 /tmp/.arkade
=======================================================================
= OpenFaaS Ingress and cert-manager ClusterIssuer have been installed =
=======================================================================

# You will need to ensure that your domain points to your cluster and is
# accessible through ports 80 and 443.
#
# This is used to validate your ownership of this domain by LetsEncrypt
# and then you can use https with your installation.

# Ingress to your domain has been installed for OpenFaaS
# to see the ingress record run
kubectl get -n openfaas ingress openfaas-gateway

# Check the cert-manager logs with:
kubectl logs -n cert-manager deploy/cert-manager

# A cert-manager ClusterIssuer has been installed into the default
# namespace - to see the resource run
kubectl describe ClusterIssuer letsencrypt-prod

# To check the status of your certificate you can run
kubectl describe -n openfaas Certificate openfaas-gateway

# It may take a while to be issued by LetsEncrypt, in the meantime a
# self-signed cert will be installed

Thanks for using arkade!
Note the flag --ingress-class traefik can be altered for other IngressControllers like nginx-ingress (also available as an arkade app).
And now we wait… It can take a few minutes for you to get a TLS certificate.
$ kubectl get cert -n openfaas -w
NAME               READY   SECRET             AGE
openfaas-gateway   True    openfaas-gateway   2m28s
When kubectl get cert -n openfaas returns “True” for the READY field, we are good to go!
You can then navigate to your OpenFaaS gateway https://openfaas.example.com and login with the password we got earlier.
A quick recap
Let’s recap on what we have so far:
- Built a k3s cluster (4 nodes)
- Installed Traefik 2
- Obtained a public IP address
- Installed OpenFaaS
- Got a TLS certificate for our custom domain
You could summarise the commands as follows:
# Install our tools
curl -sLS https://get.k3sup.dev | sh
sudo install k3sup /usr/local/bin/
curl -sLS https://get.arkade.dev | sudo sh

# Set our environment variables
export MASTER_IP=178.128.162.180
export WORKER_1_IP=157.245.45.50
export WORKER_2_IP=157.245.32.88
export WORKER_3_IP=157.245.47.60
export USER="k3s"
export LICENSE=<your-inlets-pro-license-here>

# Install our cluster
k3sup install --ip $MASTER_IP --user $USER --no-extras
k3sup join --user $USER --server-ip $MASTER_IP --ip $WORKER_1_IP
k3sup join --user $USER --server-ip $MASTER_IP --ip $WORKER_2_IP
k3sup join --user $USER --server-ip $MASTER_IP --ip $WORKER_3_IP
export KUBECONFIG=/full/path/to/kubeconfig

arkade install traefik2
arkade install inlets-operator -t ~/do-token -l $LICENSE
arkade install cert-manager
arkade install openfaas

doctl compute domain records create example.com \
  --record-type A --record-name openfaas \
  --record-ttl 30 --record-data <external IP>

arkade install openfaas-ingress \
  --email your-email@example.com \
  --domain openfaas.example.org \
  --ingress-class traefik
So, with 11 commands (I’m not counting the ones that set up environment variables or install tools) we have set up a 4 node cluster, installed OpenFaaS and set up a custom domain for our OpenFaaS installation.
We can make the installation even quicker if we use hosts on a public network.
Part 2 - deploy the sample application
During the webinar with Traefik we installed an application to collect emojis from users via GitHub issues and to tally them up, to see what the “vibe” of the community was.
Get postgresql
Install postgresql via arkade, or use a managed service such as DigitalOcean’s.
arkade install postgresql
Check out the example: Comment Vibes that Alex put together.
Use the postgres command line to connect to the database and then paste in the contents of schema.sql
psql postgresql://connection-string-here
# paste in that file's contents
Next we need to set up a number of secrets for the demo application.
faas-cli login \
  -g https://openfaas.example.com \
  --username admin \
  --password <your openfaas password from before>


export USERNAME="postgres username"
export PASSWORD="postgres password"
export HOST="postgres host"
export WEBHOOK_SECRET="some-random-string"

export OPENFAAS_URL="https://openfaas.example.com"
faas-cli secret create username --from-literal $USERNAME
faas-cli secret create password --from-literal $PASSWORD
faas-cli secret create host --from-literal $HOST
faas-cli secret create webhook-secret --from-literal $WEBHOOK_SECRET
Deploy to OpenFaaS (Intel)
git clone https://github.com/alexellis/comment-vibes
cd comment-vibes

# Get the additional template
faas-cli template store pull golang-middleware

# Deploy

faas-cli deploy
This will deploy the sample stack using the stack.yaml file, you can open it and see what we’re deploying.
Rebuild and deploy for Raspberry Pi
For a Raspberry Pi, you will need to rebuild the images and replace “alexellis2” with your own Docker Hub account.
sed -i stack.yaml s/alexellis2/your-docker-hub/g
export DOCKER_BUILDKIT=1

faas-cli up --tag=sha
Set up Github Webhooks
We should now have the application setup on your cluster. We now just need to setup the Github webhooks to send webhooks to our app when someone leaves a comment on our github Issue.
Choose a github repository (Or create one). Go to Settings for your repo and click “Webhooks”. Add a webhook like below.
You can use your custom domain openfaas.example.com/function/import-comment for the Payload URL.
Go to Settings for your repo and click “Webhooks” set the webhook secret to the same value you used to create the OpenFaaS Secret in the previous steps.

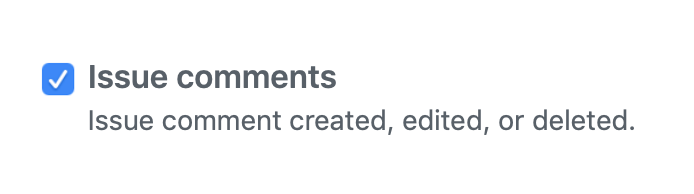
Pick only the issue comments event.
Try out the demo
Have someone send a comment to one of the issues in your repo with an emoji.
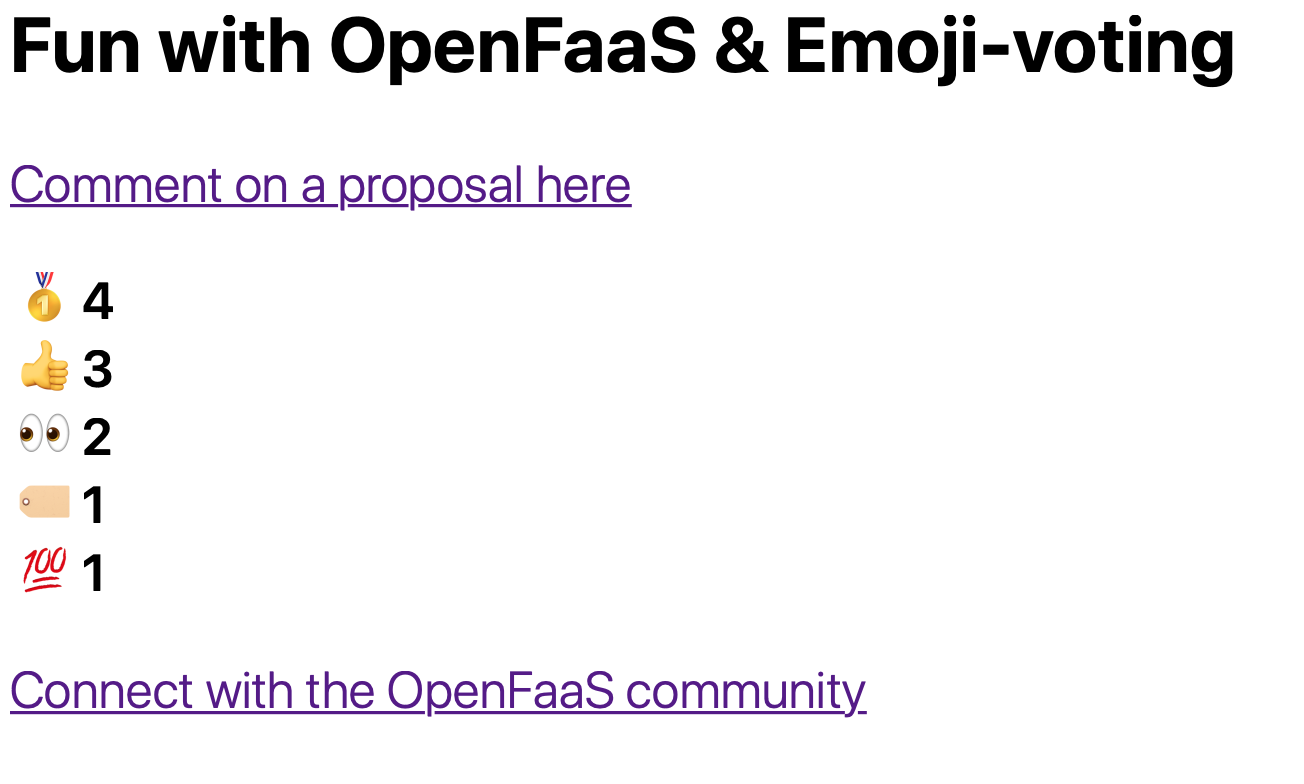
You can then view the result at your custom domain https://openfaas.example.com/function/view
Wrapping up
If you watched the video and followed along with the steps in this post you should have now setup
a Kubernetes cluster using k3sup, installed some “platform” applications with arkade and then deployed
an application that listens for webhooks from github on OpenFaaS.
This platform can then be used to deploy other serverless functions and applications. They will all get a path under your custom domain. They will all be secured with the TLS certificate we got from LetsEncrypt.
Over to you!
Follow @openfaas on Slack
Or just get started at the beginning with the workshop

Alistair Hey
Former Core Team @openfaas. Cloud native Platform Engineer.